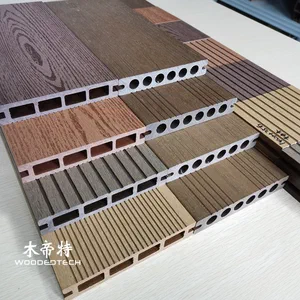
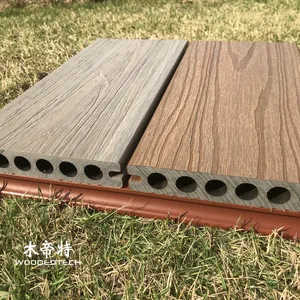
Step-by-Step Guide on how to install capped composite decking
I’m drafting the article text now, with the installation steps, spec-level guidance, and the required SEO footer in the exact format you asked for.Capped composite decking is installed with the same discipline used for any commercial exterior system: a level subframe, correct spacing, and clean fastening. The difference is in the surface cap, which improves stain resistance and durability, so the deck performs well in high-traffic environments when installed correctly.
Prepare the Substructure
Start with a sound base. The joists must be straight, dry, and aligned to the manufacturer’s spacing recommendations, because capped composite boards are less forgiving of uneven framing than timber. Use corrosion-resistant fasteners and compatible joist tape where specified, since moisture management matters at every contact point. Check drainage, slope, and ventilation before the first board goes down.
Lay Out the Boards
Acclimate the boards on site and inspect each bundle for color consistency and damage. Plan the layout so end joints are staggered and visible cuts are minimized in the main traffic path. Leave the required expansion gap at walls, posts, and fixed edges, because capped composite decking still moves with temperature changes. Pre-drill where needed, especially near board ends, to reduce the risk of splitting or fastener stress.

Fasten with the Right System
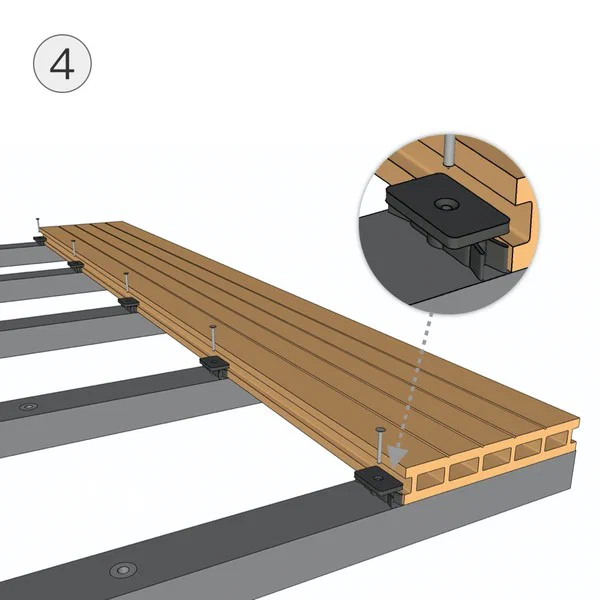
Use the fastening method approved for the product line, usually hidden clips or a manufacturer-matched screw system. Start square at the perimeter and work outward, keeping each board aligned before locking it in place. Do not overtighten fasteners, as that can pinch the board and create surface distortion. For commercial projects, confirm that the clip system supports the expected load and that replacement boards can be removed without dismantling large sections.
Finish and Inspect
Cut edges should be clean and sealed if the supplier requires it. Install fascia, trims, and stair details after the field boards are complete, making sure all exposed edges are neat and protected. Then inspect for consistent gaps, flush transitions, and solid bearing at every support. A final walk-through should confirm that drainage paths are open and that no board deflects under load. That last check is important on retail decks, terraces, and hospitality projects where long-term appearance and safety are part of the spec.
FAQ
Q: How much gap should be left between capped composite decking boards? A: Follow the manufacturer’s installation guide, because spacing varies by profile and climate. Most systems require a visible expansion gap at both board ends and fixed edges.
Q: Can capped composite decking be installed over existing framing? A: Yes, if the framing is structurally sound, level, and spaced correctly. Check for rot, corrosion, or movement before reusing any substructure.
Q: Are hidden fasteners required for capped composite decking? A: They are commonly used and often recommended for a cleaner finish. The exact fastening method depends on the board profile and warranty terms.