
Replacing Old Deck Boards with Composite: A Guide to Durable Decking Solutions
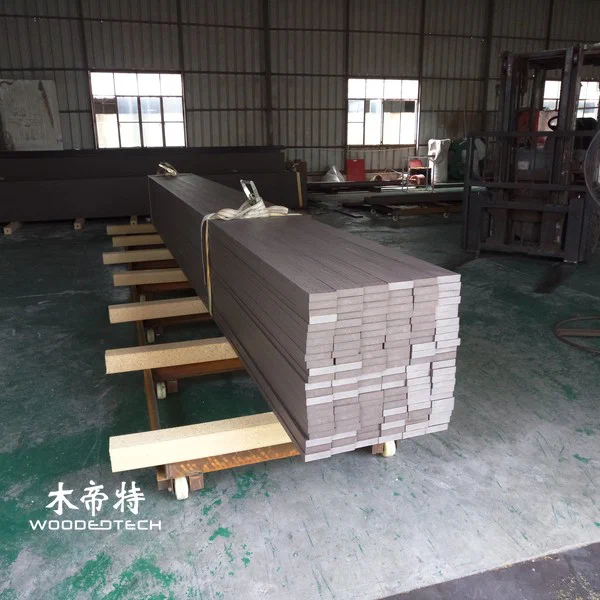
Replacing old deck boards with composite decking is an effective way to upgrade an ageing outdoor space without necessarily rebuilding the entire structure. Composite boards offer improved weather resistance, reduced maintenance and consistent appearance compared with traditional timber, making them a practical choice for long-term outdoor decking projects. However, a durable installation depends on proper removal, subframe inspection, fixing techniques and expansion allowances.
Step 1: Remove Old Deck Boards and Inspect the Structure
Start by removing the existing timber deck boards, screws and other fixing components. Use a pry bar or suitable decking removal tool to lift the boards carefully without damaging the supporting joists. Remove debris, leaves and accumulated dirt from the exposed framework.
Inspect the existing subframe thoroughly before installing new composite decking. Check every joist for rot, cracks, insect damage, corrosion around metal connectors and signs of water damage. Replace any weakened or damaged structural components rather than covering them with new boards.
Measure the joist spacing and check that the supporting structure is level, stable and adequately ventilated. Composite decking can have different load requirements from timber, so confirm that the existing joist spacing meets the specifications of the selected product. Install additional joists or blocking where necessary, particularly around board ends, stairs and deck edges.
Step 2: Prepare the Subframe for Composite Decking
A properly prepared subframe provides the foundation for long-lasting composite decking. Supporting joists should be evenly spaced, securely anchored and aligned in the same plane. Use a straightedge or level to identify uneven areas and correct them before installation.
For outdoor WPC decking, the subframe should allow effective drainage and airflow beneath the boards. Maintain adequate ground clearance and avoid creating enclosed spaces where moisture can accumulate. Where appropriate, install protective joist tape to reduce water exposure at timber contact surfaces.
Check that the joist material, dimensions and spacing are compatible with the composite decking manufacturer’s requirements. Aluminium or treated timber subframes may be suitable depending on the installation system. Do not assume that the old timber framework can automatically support the new composite boards.
Step 3: Plan Board Layout and Expansion Gaps
Before fixing the boards, establish the installation direction and calculate the required quantities. Measure the deck area carefully, allowing for cutting waste, perimeter finishing and any irregular sections.
Composite decking expands and contracts with temperature changes. Unlike traditional timber, WPC boards require specific expansion allowances to prevent buckling, deformation or excessive pressure between adjacent boards.

Follow the manufacturer’s installation specifications for:
- Side-to-side gaps between adjacent boards.
- End-to-end expansion gaps at board joints.
- Clearance between decking and fixed walls or other structures.
- Expansion allowances around posts, railings and perimeter edges.
These gaps vary according to board composition, length, installation temperature and product design. Avoid using a universal spacing measurement for every composite decking system. For longer decks, stagger board joints and provide suitable support beneath every board end.
Step 4: Cut and Install the Composite Decking Boards
Measure each section carefully and mark cutting lines before trimming. A circular saw with a suitable fine-tooth blade generally provides clean, accurate cuts. Use appropriate eye protection, hearing protection and dust control equipment during cutting.
Keep cut edges clean and remove loose debris before installation. Follow the manufacturer’s recommendations for minimum cutting distances, unsupported spans and permitted board orientation.
Begin installation from a straight reference edge, usually alongside the house or another fixed boundary. Position the first board accurately, ensuring that it is straight and correctly aligned with the supporting joists.
Depending on the decking profile, use concealed clips or approved face-fixing screws. Grooved composite boards commonly use stainless steel or corrosion-resistant starter clips and intermediate fixing clips. These components fit into the board grooves and secure the decking while maintaining consistent spacing.
For solid-edge boards, use the manufacturer’s specified screws and pre-drilling method. Drive fasteners into the centre of each supporting joist without overtightening. Avoid using ordinary timber screws unless they are explicitly approved for the composite material.
Continue installing the remaining boards, checking alignment and spacing regularly. Secure every required fixing point and ensure that board joints are fully supported. Install matching fascia boards or edge trims to create a neat perimeter finish.
Step 5: Install Composite Wall Cladding Where Required
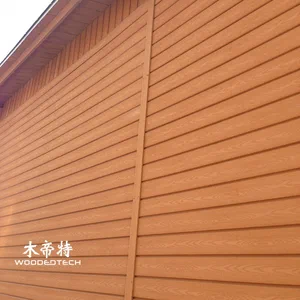
If the renovation also includes outdoor WPC wall cladding, prepare the wall separately before installation. Check that the substrate is structurally sound, dry and suitable for the proposed fixing system.
Install vertical or horizontal support battens according to the cladding manufacturer’s specifications. Maintain suitable ventilation and drainage behind the panels, particularly on exterior walls exposed to rain.
Fix the WPC cladding panels using the recommended clips, screws or concealed fastening accessories. Allow for thermal movement at panel joints, corners and openings. Finish exposed edges with compatible corner profiles and trims.
Never install exterior composite wall panels directly over a damp or unsuitable substrate without addressing the underlying moisture and ventilation requirements.
Step 6: Final Inspection and Long-Term Maintenance
Once installation is complete, inspect the entire deck for loose fasteners, uneven board edges, inconsistent gaps and unsupported joints. Check that drainage paths remain unobstructed and that the finished surface is stable under normal foot traffic.
Composite decking requires less maintenance than traditional timber, but periodic cleaning is still important. Remove leaves, dirt and standing water regularly. Wash the surface with water and a mild detergent using a soft-bristle brush. Follow the manufacturer’s guidance before using pressure washers or specialised cleaning products.
Avoid harsh chemicals, abrasive cleaning tools and direct contact with hot objects that could damage the surface. Inspect the subframe, clips, screws and drainage areas periodically, especially after severe weather.
Replacing old timber boards with a properly installed composite system can significantly extend the useful life of an outdoor deck. By combining a sound supporting structure, suitable fixing accessories, controlled expansion gaps and routine cleaning, property owners and contractors can achieve a stable, attractive outdoor surface with reduced ongoing maintenance requirements.
Related Articles
Related Products
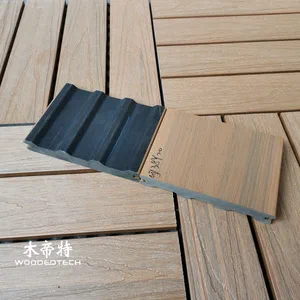 GD13820 M Shape Co Extruded Composite Deck Planks Feature a Special Profile Design for Distinctive Outdoor Decking Applications
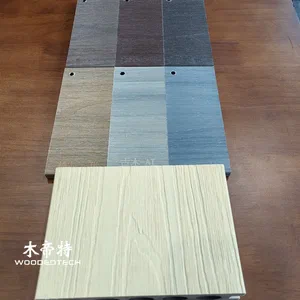
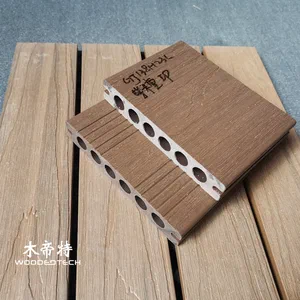 GD13823-3 Composite Boards for Decking Are Available in Multiple Stock Colors with 3 Meter Lengths and Single Piece Delivery
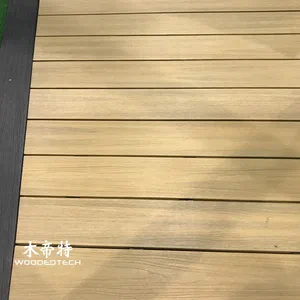
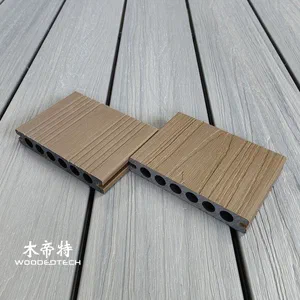 GD13823-3 Teak TK Co Extruded Decking Is a Popular Choice from Composite Decking Suppliers for Outdoor Flooring Projects