labor cost to install composite decking varies based on project size design and installation conditions
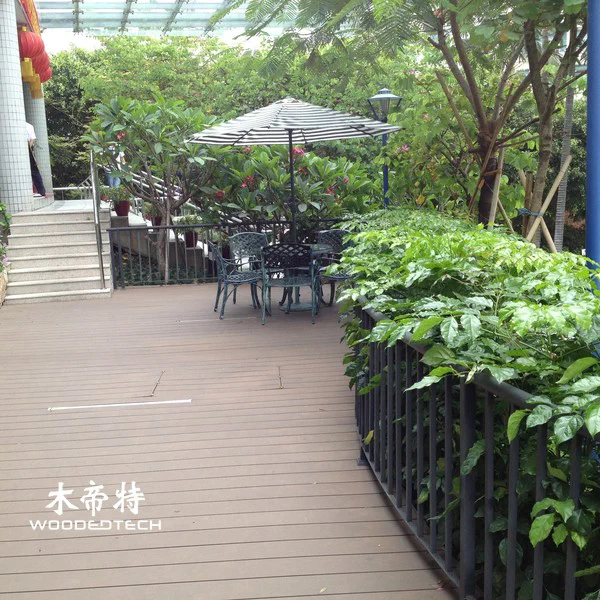
Composite decking installation costs depend on deck size, layout complexity, access, and site conditions. This guide explains how to install WPC decking and wall cladding correctly so labor is efficient, the finish looks clean, and the system lasts.
Site Check and Subframe Preparation
Start by measuring the area and confirming the substrate is sound, level, and dry. Labor costs rise quickly when the ground needs extra leveling, old material removal, or structural repair, so proper inspection saves time later.
For decking, prepare a stable subframe with the right joist spacing, usually tighter for hollow boards and wider for solid boards according to the product spec. Use corrosion-resistant fasteners and maintain proper drainage and airflow beneath the frame. For wall cladding, check the wall flatness first; uneven walls need battens or a leveling system before panels go on.
Installing the Substructure
Set the joists or battens on a firm base and keep them square. Use string lines and a spirit level to avoid waves in the finished surface, since correcting alignment after boards are fixed takes much longer.
Leave clear drainage paths and separate the frame from constant ground moisture where needed. If you are installing composite deck boards near pools, roofs, or coastal sites, factor in extra fixings and corrosion protection because these conditions add labor and time.
Fixing Methods for Decking and Cladding
Composite decking is commonly fixed with hidden clips for a cleaner finish and faster repeat installation once the first row is set. Start with a straight starter board, then lock each board in sequence, checking alignment every few rows.

For wall cladding, follow the manufacturer’s clip or tongue-and-groove method. Fix the first course level, because any error will carry upward and become obvious at the top edge. Around openings, corners, and trim details, expect more cutting and finishing work, which increases installation labor.
Expansion Gaps, Cutting, and Edge Details
WPC expands and contracts with temperature, so leave expansion gaps at board ends, wall joints, and perimeter edges. Do not push boards tight against fixed objects; follow the stated gap size for the product and local climate.
Cut boards with a fine-tooth blade for a clean edge and reduced chipping. Measure twice before cutting, especially around posts, drains, outlets, and corners, because rework is one of the biggest hidden labor costs on composite projects.
Maintenance Tips That Protect the Installation
Composite decking and cladding are low maintenance, but they still need regular cleaning. Sweep debris often, wash with mild soap and water, and keep gaps clear so water can drain and airflow stays open.
Avoid harsh solvents, wire brushes, and high-pressure washing too close to the surface. Check clips, trim pieces, and edge lines once or twice a year, especially after extreme weather or heavy use.
FAQ
Q: Why does labor cost to install composite decking vary so much? A: The biggest factors are deck size, design complexity, site access, and how much prep work the subframe needs. Curves, steps, and tight corners also increase labor time.
Q: Can WPC decking and wall cladding be installed on the same project? A: Yes, many outdoor projects combine both systems for a coordinated finish. The key is to match the correct subframe, fixing method, and expansion allowance for each application.
Q: What is the most common installation mistake? A: Tight fixing without proper expansion gaps is the most common issue. It can lead to buckling, noise, or surface distortion as temperatures change.
Related Articles
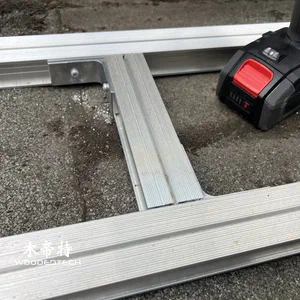 composite deck joist span table helps plan safe and efficient outdoor decking structures
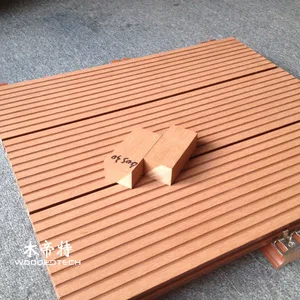 composite deck over concrete patio creates an attractive outdoor living area with easy installation
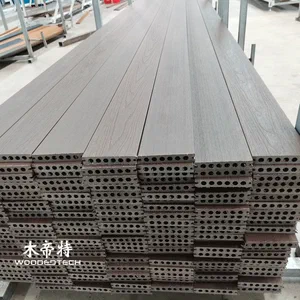 DIY Composite Decking Guide for Easy Outdoor Deck Installation
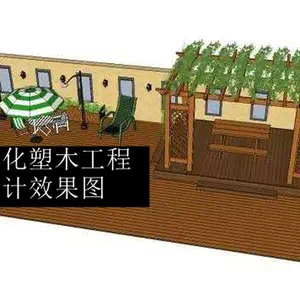 core decking wpc provides a stable outdoor flooring solution with reliable composite performance
Related Products
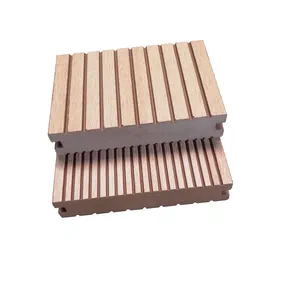 D13740S 40mm Thick Solid Composite Decking Material for Durable Outdoor Flooring Applications
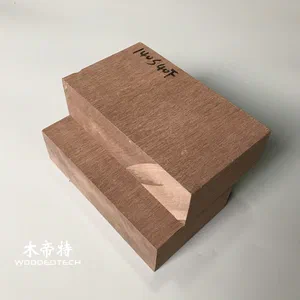 D14040-2S Square Solid Composite Deck Boards Without Side Grooves for Outdoor Decking
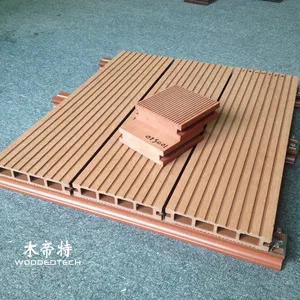 D10030S outdoor floor narrow board design offers an elegant appearance with solid structure and excellent load bearing performance