How to put plastic decking down with simple installation methods for outdoor applications
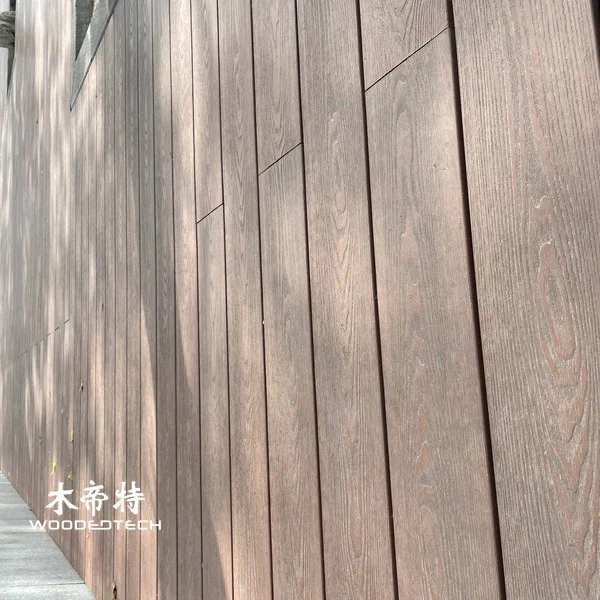
Plastic wood decking is a practical choice for outdoor floors and wall facades because it combines the look of timber with easier upkeep. If you want a clean, durable result, the key is proper subframe preparation, correct fixing, and enough movement space for expansion.
Prepare the base and subframe
Start with a level, stable base. For decking, the ground should be compacted and drained well, with a slight slope to move water away from the building. For wall cladding, check that the wall is flat, dry, and sound before installation begins.
Use treated timber battens or aluminum joists as the subframe, depending on the product system and exposure level. Keep joist spacing within the manufacturer’s recommendation, because wide spacing can cause bounce, sagging, or clip failure. Before laying boards, make sure the frame is square and all fixings are tight.
Lay the first board with care
The first board controls the rest of the job, so set it straight and fix it securely. For most plastic wood decking and WPC systems, hidden clips are the cleanest method for outdoor applications. These clips hold the board while allowing movement and a neat surface finish.
When face-fixing is required, pre-drill to reduce splitting and use corrosion-resistant screws. Never over-tighten, because the board should still be able to move slightly with temperature changes. On wall cladding, use starter clips or concealed fasteners at the bottom edge to create a straight base line.
Allow for expansion gaps
Plastic wood decking and WPC cladding expand and contract with heat. Leave side gaps, end gaps, and perimeter clearance as specified by the supplier, especially at fixed edges, corners, and around posts.
A few practical rules help avoid problems:
- Keep a consistent gap between board ends.
- Leave space against walls, columns, and edging profiles.
- Do not force boards tightly together in cold weather.
- Maintain airflow under deck boards and behind cladding panels.
If the site is very hot, sunny, or humid, expansion allowance becomes even more important.
Cut, finish, and inspect
Use a fine-tooth blade for cleaner cuts and less chipping. Support the board firmly while cutting, and measure twice before trimming around corners, drains, outlets, or window openings. For cladding, seal cut edges where the product system calls for it and keep joints aligned for a professional look.
After installation, walk the deck and check for loose clips, uneven joints, or trapped debris. Remove dust and cuttings from grooves and drainage channels so water can escape freely.

Simple maintenance tips
WPC and plastic wood products are low-maintenance, but they still need basic care. Wash the surface with mild soap and water, use a soft brush for dirt, and remove leaves or sand that can hold moisture. Avoid harsh solvents, metal scrapers, and high-pressure washing too close to the surface.
FAQ
Q: Can plastic wood decking be installed directly on concrete? A: Yes, but it still needs a proper subframe or sleeper system with drainage and ventilation. Direct contact with standing water should be avoided.
Q: What fixing method is best for WPC decking? A: Hidden clips are usually preferred for a cleaner finish and controlled movement. Face screws are only used where the product design or edge details require them.
Q: How much gap should I leave between boards? A: Follow the supplier’s installation guide, because spacing depends on board profile, temperature, and the fixing system. End gaps and perimeter gaps are especially important for outdoor use.
Related Articles
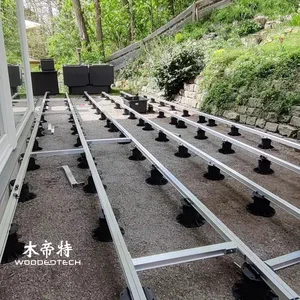 Replacing composite deck boards becomes easier with reliable outdoor WPC decking solutions
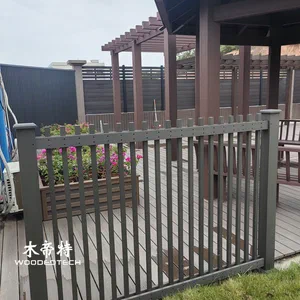 Composite decking spacing guidelines ensure proper installation and long term outdoor performance
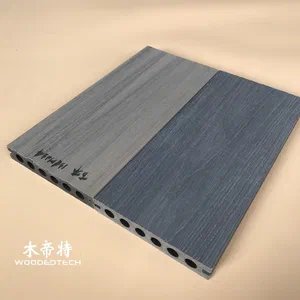 Joists for composite decking provide stable support systems for outdoor deck installation
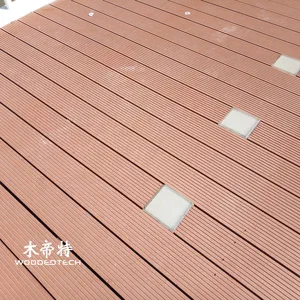 Tongue and groove composite decking creates seamless outdoor flooring with easy installation
Related Products
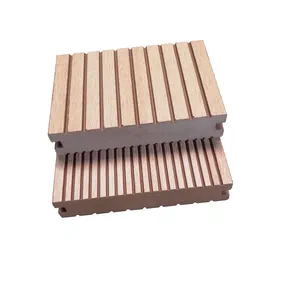 D13740S 40mm Thick Solid Composite Decking Material for Durable Outdoor Flooring Applications
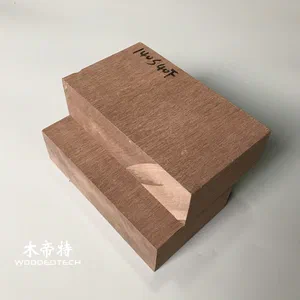 D14040-2S Square Solid Composite Deck Boards Without Side Grooves for Outdoor Decking
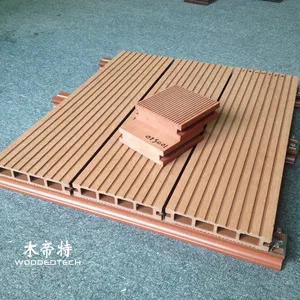 D10030S outdoor floor narrow board design offers an elegant appearance with solid structure and excellent load bearing performance