How to picture frame a composite deck with professional installation methods for a beautiful edge finish
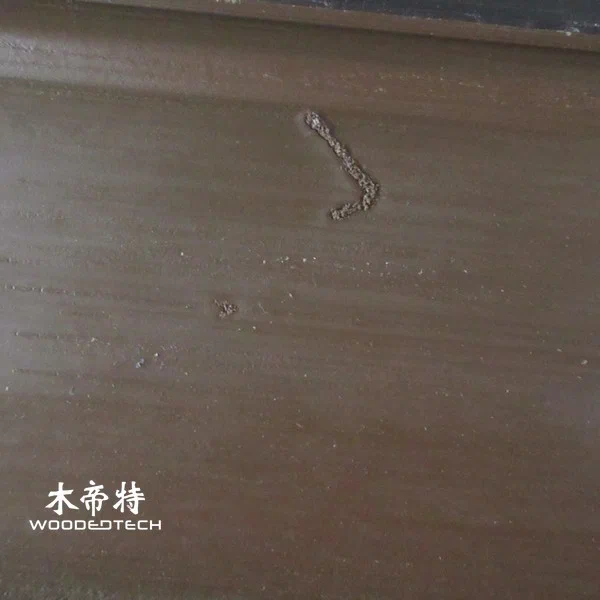
A picture frame finish gives a composite deck a clean border, hides cut ends, and makes the whole installation look more professional. The same method works well on WPC decking and can be adapted for wall cladding details where a neat perimeter is needed.
Planning the frame and subframe
Start by checking the deck layout, board direction, and the finished edge line before any fixing begins. A picture frame usually uses a border board around the perimeter, with the main deck boards running into it at 90 degrees or as a mitered corner detail.
The subframe must be level, stable, and dry. Use treated timber or composite decking joists with proper spacing according to the board profile, and make sure the outer rim joists are reinforced because the picture frame boards will need solid support at the edge. For wall cladding, the same principle applies: the battens or substructure must be straight, ventilated, and fixed to a sound wall.
Setting expansion gaps and board layout
Composite and WPC materials move slightly with temperature, so expansion gaps are essential. Leave the manufacturer’s recommended gap between boards, and keep extra clearance at walls, posts, steps, and other fixed points. Around the picture frame border, check the end spacing carefully so the edge boards can expand without buckling.
Dry-lay the perimeter first. This helps confirm the board widths, corner joints, and the final appearance before screws or clips are used. If you are combining decking with wall cladding details nearby, keep the visual lines consistent so the finish looks intentional rather than patched together.
Fixing methods for a professional finish
Use hidden clips where the board profile allows it, especially on the main field boards. For the picture frame border, many installers use face fixing or color-matched screws because the border needs extra restraint. Pre-drill when required, and never overtighten, since that can deform the board or restrict movement.
For a clean corner, either:
- use 45-degree miters for a refined edge
- square-cut the ends and butt them neatly for a simpler, faster finish
Whichever method you choose, make sure the border boards are fully supported underneath. End grain should not hang unsupported, and every cut edge should be sealed or treated if the product requires it. On wall cladding, keep fixing points aligned and maintain the ventilation gap behind the panels.
Cutting, trimming, and edge detailing
Cut WPC decking with a fine-tooth blade for a smooth edge. Support the board fully while cutting, and cut slowly to avoid chipping or overheating. When trimming around posts, drains, or wall corners, measure twice and allow for movement gaps on all sides.
A good picture frame depends on consistent lines. Use a chalk line or laser to keep the border straight, and check the corners before final tightening. Small errors at the edge are easy to see, so take your time here.
Maintenance tips
Composite decking and WPC cladding are low-maintenance, but they are not maintenance-free. Sweep off dirt regularly, wash with mild soap and water, and remove leaves or standing water so stains do not set in. Avoid harsh solvents, abrasive pads, and metal shovels that can scratch the surface.
Inspect the frame and fixings once or twice a year. Look for loose screws, blocked drainage, or debris trapped at the perimeter. A well-installed picture frame edge will stay straight, protect the deck ends, and keep the whole outdoor area looking sharp for years.

FAQ
Q: Why use a picture frame border on composite decking? A: It gives the deck a finished edge, hides cut board ends, and improves the overall look. It also helps define the layout more clearly.
Q: Can the same installation idea be used for WPC wall cladding? A: Yes, the same principles apply to battens, expansion gaps, and clean perimeter lines. The fixing method changes, but neat edge detailing is just as important.
Q: Do composite boards need special maintenance after installation? A: They need routine cleaning and occasional inspection, but not sanding or painting. Keeping the surface and edges free from dirt is usually enough.
Related Articles
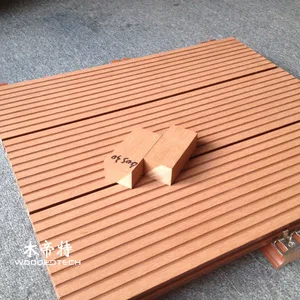 composite deck over concrete patio creates an attractive outdoor living area with easy installation
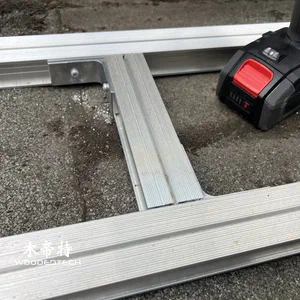 composite deck joist span table helps plan safe and efficient outdoor decking structures
 labor cost to install composite decking varies based on project size design and installation conditions
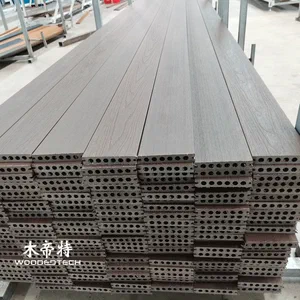 DIY Composite Decking Guide for Easy Outdoor Deck Installation
Related Products
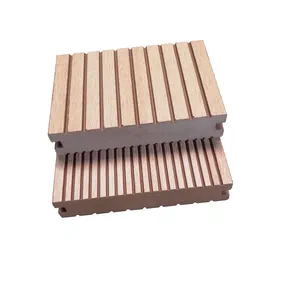 D13740S 40mm Thick Solid Composite Decking Material for Durable Outdoor Flooring Applications
 D14040-2S Square Solid Composite Deck Boards Without Side Grooves for Outdoor Decking
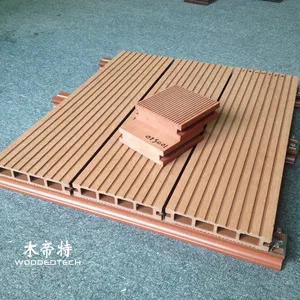 D10030S outdoor floor narrow board design offers an elegant appearance with solid structure and excellent load bearing performance