How To Install Fluted Wpc Panel
Fluted WPC panel installation is straightforward when the substrate is prepared correctly and the layout is planned in advance. For commercial projects, the real priority is not only a clean finish, but also long-term stability, moisture resistance, and consistent alignment across large wall areas.
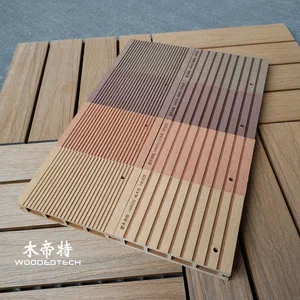
What Is a Fluted WPC Panel?
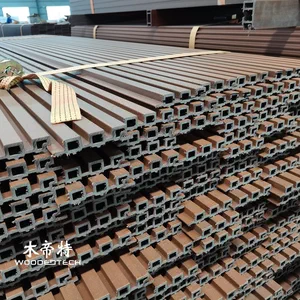
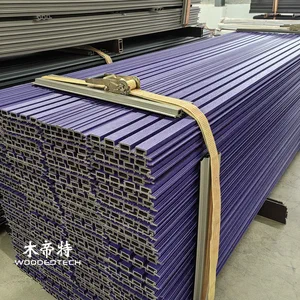
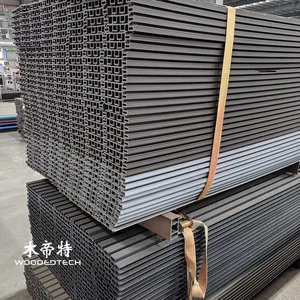
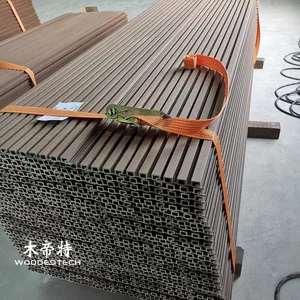
A fluted WPC panel is a decorative wall panel made from wood-plastic composite, designed with vertical or linear grooves for a refined architectural effect. It is widely used in hotels, offices, retail spaces, showrooms, lobbies, and other interior applications where a modern surface finish is required.
Compared with natural wood, WPC panels offer better resistance to moisture, warping, and insect damage. Compared with painted drywall or MDF systems, they are easier to maintain and often faster to install on large projects.
Before You Start Installation
A successful installation begins before the first panel is fixed. Industrial and B2B buyers should confirm the following points:
- Wall condition: The wall should be dry, flat, clean, and structurally sound.
- Acclimation: Store panels in the installation area for 24 to 48 hours so they adjust to room temperature.
- Substrate type: Determine whether the panels will be fixed to concrete, plywood, metal framing, or existing wall finishes.
- Layout plan: Measure the wall and decide where cuts, seams, and end panels will fall.
- Expansion gaps: Leave the recommended clearance at edges, corners, and junctions.
- Matching batch: Use panels from the same production batch when possible to maintain color consistency.
If the wall has moisture problems, cracks, or uneven surfaces, fix those issues first. WPC panels should not be used as a shortcut to cover structural defects.
Tools and Materials Needed

- Measuring tape
- Laser level or chalk line
- Saw with fine-tooth blade
- Construction adhesive or panel adhesive
- Screws, clips, or fixing battens, depending on the system
- Drill and driver
- Spacer blocks
- Silicone sealant or trim profiles
- Clean cloth for surface cleanup
For larger commercial sites, installers often use a combination of adhesive and mechanical fixing to improve holding strength and reduce the risk of movement over time.
Step-by-Step Installation Process
1. Prepare the Wall Surface
Start by cleaning the wall and removing dust, grease, loose paint, and any protruding fasteners. The flatter the surface, the better the final result.
If the wall is uneven, install a level subframe or battens first. This is especially important in new builds or renovation projects where the original wall may not meet flatness requirements. A good substructure also makes it easier to align the fluted profile across the full wall height.
2. Mark the Installation Lines
Use a level and measuring tape to establish a vertical reference line. This line will guide the first panel, and the first panel determines the quality of the entire wall.
Measure the full wall width and decide how the panels will be distributed. If possible, avoid narrow slivers at the edges. Symmetrical layout usually looks more professional, particularly in reception areas, conference rooms, and brand showcase spaces.
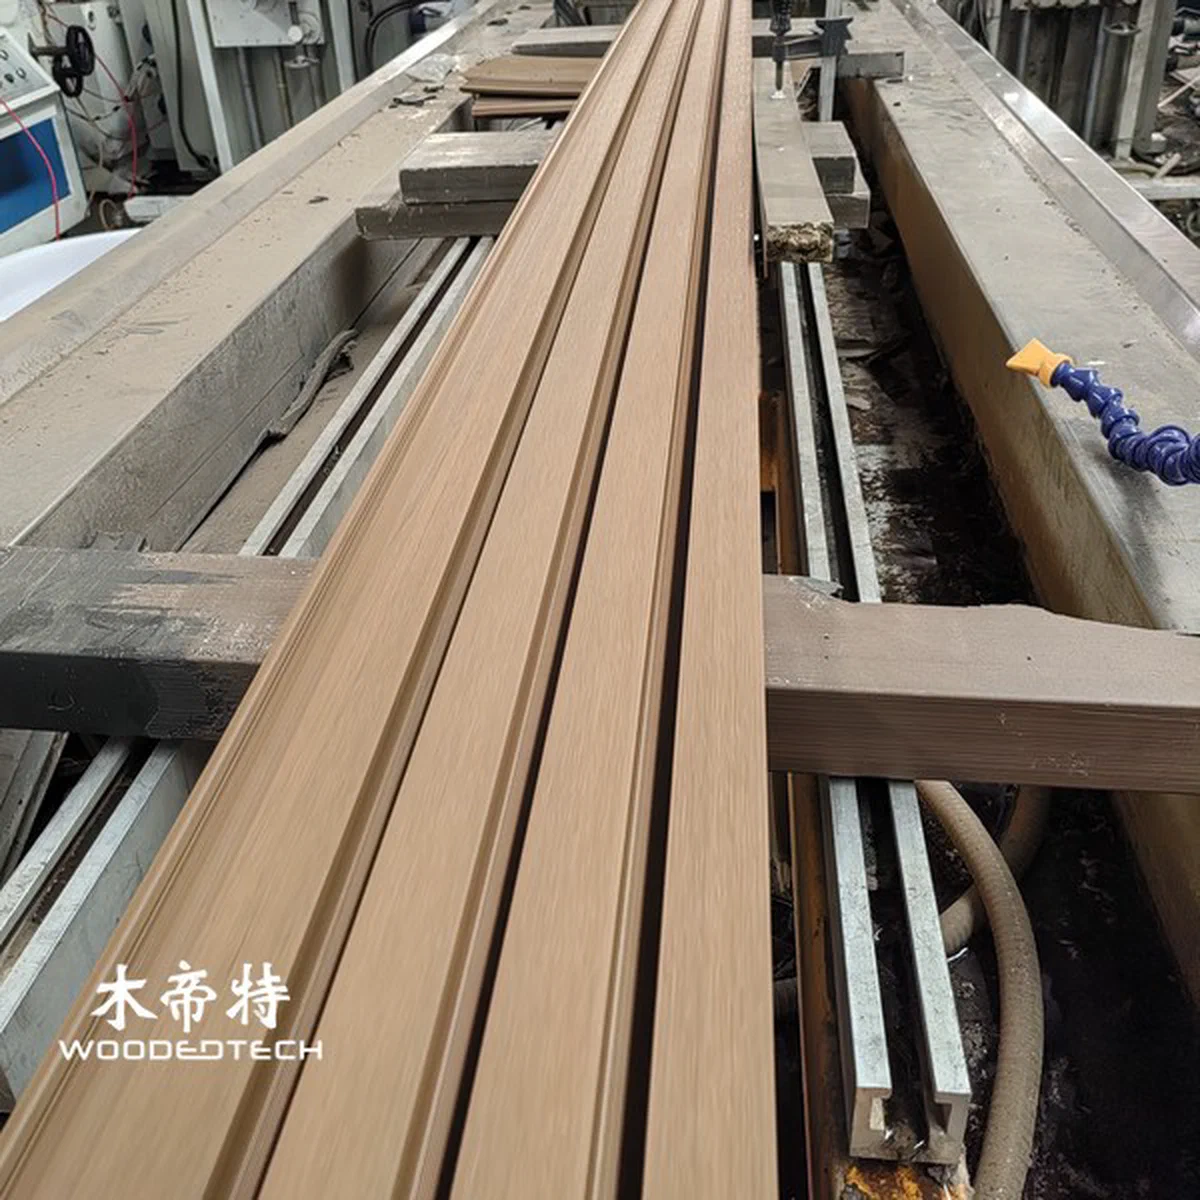
3. Cut Panels to Size
Cut panels carefully according to the project drawing or site measurements. Use a fine-tooth saw blade to reduce chipping and keep edges neat. Always check the cut twice before trimming, especially around outlets, corners, and irregular wall sections.
For long runs, pre-cut several panels before installation begins. This improves workflow and helps keep groove alignment consistent.
4. Apply Adhesive or Fixing System
Depending on the panel type and wall structure, apply construction adhesive to the back of the panel in vertical beads or according to the manufacturer’s recommendations. Some systems also use clips, screws, or hidden fasteners.
If battens are installed, fix the panel securely to the framework. Make sure every fixing point is properly aligned so the panel stays flat and does not twist. For commercial projects with high traffic or temperature variation, mechanical support is often preferred in addition to adhesive.
5. Install the First Panel
Place the first panel on the marked line and press it firmly into position. This first panel must be level and straight. If it is not, every subsequent panel will follow the same error.
Use spacer blocks where necessary to maintain consistent gaps at edges and around the perimeter. Check the front face and the groove alignment from multiple angles before moving on.
6. Continue Panel by Panel
Install each panel tightly and evenly, following the groove pattern. Make sure the joints are clean and uniform. If the system uses tongue-and-groove or interlocking edges, engage the connection fully before fixing the next section.
Wipe off any excess adhesive before it cures. It is much easier to clean at this stage than after drying. For long walls, step back regularly and inspect the line of the flutes to confirm that the visual rhythm remains consistent.
7. Handle Corners, Edges, and Openings
Corners, door frames, switches, and sockets require careful cutting and finishing. Use edge trims, corner profiles, or sealant as needed to create a neat transition.
When working around electrical outlets, cut openings with precision and allow proper clearance for safe reinstallation of covers. For external corners, protective profiles can improve durability and reduce visible damage in high-use environments.
8. Finish the Surface
Once all panels are installed, inspect the wall for gaps, misalignment, or adhesive residue. Apply finishing trims where required and ensure all edges are sealed or covered according to the project specification.
If the system includes decorative end caps or matching accessories, install them last. This creates a complete, premium appearance and protects exposed edges from wear.
Best Practices for Commercial Projects
For contractors, distributors, and project managers, installation quality depends on a few practical habits:
- Check wall flatness before delivery acceptance
- Use the correct fixing method for the substrate
- Keep panels in the same orientation during installation
- Maintain consistent groove alignment across all sections
- Avoid installing in areas with active leaks or damp walls
- Protect finished surfaces during remaining construction work
In large projects, it is also wise to mock up one section first. A sample wall helps verify panel color, joint appearance, lighting effect, and install speed before full rollout.
Common Installation Mistakes to Avoid
Even high-quality WPC panels can look poor if installed incorrectly. The most common mistakes include:
- Skipping wall preparation
- Starting without a level reference line
- Ignoring expansion clearance
- Using too little adhesive or the wrong adhesive
- Cutting panels with dull blades
- Installing on damp or unstable walls
- Overlooking edge finishing and trim details
These problems can lead to uneven surfaces, panel movement, visible gaps, or premature failure. In B2B applications, that means extra labor, delayed handover, and higher maintenance costs.
Maintenance After Installation
Once installed, fluted WPC panels are relatively easy to maintain. Regular dusting and occasional wiping with a mild cleaner are usually enough. Avoid harsh solvents or abrasive tools, as they may damage the surface finish.
For public or commercial interiors, include panel maintenance in the building’s regular cleaning schedule. This helps preserve the appearance of lobbies, corridors, retail displays, and office feature walls.
FAQ
Q: Can fluted WPC panels be installed directly on drywall? A: Yes, if the drywall is flat, dry, and firmly fixed. For weaker or uneven surfaces, a subframe is a better option.
Q: Do fluted WPC panels need expansion gaps? A: Yes, small expansion gaps are recommended at edges and transitions to allow for material movement.
Q: Can WPC panels be used in humid areas? A: They are suitable for many humid interior spaces, but they should not be installed where there is active water exposure unless the product is specifically rated for that use.
Q: Is adhesive enough for installation? A: In some interior applications, adhesive is sufficient, but larger commercial projects often benefit from a combination of adhesive and mechanical fixing.
Q: How do I keep the grooves aligned? A: Start with a level first panel, use consistent spacing, and check alignment frequently as you work across the wall.