
How to Install Composite Decking Boards YouTube: A Professional Guide
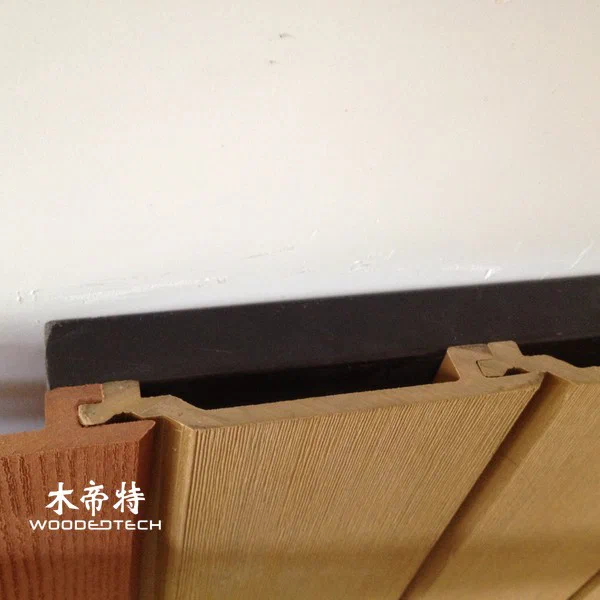
Installing composite decking boards correctly requires a stable subframe, suitable fixings, consistent expansion gaps, and proper drainage. This professional guide explains how to install WPC decking step by step, what to look for in YouTube installation videos, and how to fit outdoor WPC wall cladding for a durable, clean finish.
Step 1: Prepare the Site and Subframe
Before installation, check the ground or supporting structure for stability, level, and drainage. Concrete bases should be sound and adequately sloped to prevent standing water. For timber or metal structures, confirm that the supporting framework is suitable for outdoor use and capable of carrying the expected loads.
Measure the installation area and calculate the required number of composite decking boards, joists, starter clips, hidden fasteners, and end clips. Allow for cutting waste according to the deck layout. Follow the manufacturer’s recommended joist spacing, support requirements, and fastening specifications rather than assuming all WPC products use the same dimensions.

Step 2: Install the Composite Decking Boards
Lay out the joists evenly, keeping them level and securely fixed. Install additional supports at board joints, deck edges, stair transitions, and other locations specified by the system manufacturer. Ensure the frame provides sufficient ventilation and water drainage beneath the decking.
Start with a straight reference line and secure the first board using the designated starter clips or approved screws. For grooved composite decking boards, insert the compatible hidden fasteners into the grooves and fix them to each supporting joist. Slide the next board into position and tighten the clips according to the manufacturer’s instructions. Continue across the deck, checking alignment and spacing regularly.
For solid-edge boards or perimeter sections, use the approved face-fixing method where required. Predrilling may be necessary to reduce splitting or surface damage. Avoid overtightening screws, which can restrict movement or damage the board surface.
Step 3: Allow for Expansion and Cut Boards Accurately
WPC decking expands and contracts with temperature changes. Leave the specified gaps between board ends, along walls, around posts, and at fixed structures. Required spacing depends on the product, board length, installation temperature, and local climate, so use the manufacturer’s installation chart instead of applying one universal gap.
Cut composite boards with a suitable circular or mitre saw fitted with an appropriate blade. Measure twice, support the board fully, and wear eye protection and a dust mask when cutting. Keep cut edges clean and use compatible finishing trims to achieve a professional appearance.
Before completing the perimeter, inspect the entire surface for uneven joints, loose fixings, blocked drainage paths, and inconsistent spacing.
Step 4: Install Outdoor WPC Wall Cladding
For outdoor WPC wall cladding, prepare a stable supporting framework that is suitable for the building envelope and local wind loads. Install vertical battens or the specified subframe arrangement to create drainage and ventilation behind the panels. Maintain the required clearances around the ground, roof edges, windows, doors, and other openings.
Fit the first panel accurately, then secure subsequent panels using the designated clips, screws, or interlocking system. Follow the manufacturer’s instructions for expansion gaps, corner trims, joints, and weatherproofing details. WPC cladding should not replace the building’s required waterproofing layer or flashing system.
Step 5: Inspect and Maintain the Finished Installation
Once installation is complete, remove sawdust and construction debris with a soft brush. Clean the boards with water and a suitable mild detergent, following the product’s care instructions. Avoid aggressive abrasives and unapproved chemical cleaners.
Inspect the decking and cladding periodically for loose fixings, blocked drainage, damaged trims, and debris trapped between boards. Prompt cleaning and routine checks help preserve the appearance and performance of outdoor WPC products.
YouTube installation videos can help demonstrate clip placement, cutting techniques, and board alignment. Choose videos that match your specific decking profile and fixing system, and use the manufacturer’s installation manual as the primary reference for measurements and technical requirements.
FAQ
Q: Can composite decking boards be installed directly on concrete?
A: Yes, if the concrete base is stable, properly drained, and compatible with the specified support system. Install suitable joists or approved supports rather than placing standard decking boards directly on the concrete.
Q: How much expansion gap should be left between composite decking boards?
A: The required gap depends on board dimensions, temperature, and product specifications. Follow the manufacturer’s installation chart for both side gaps and end-to-end joints.
Q: Can the same installation method be used for WPC decking and wall cladding?
A: No. Both require suitable subframes and allowance for thermal movement, but wall cladding also needs appropriate ventilation, drainage, and building-envelope detailing.
Related Articles

Related Products
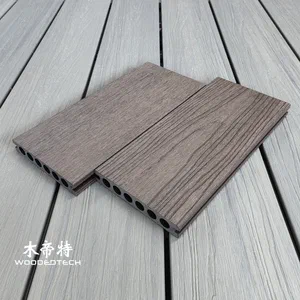 3DGD13823 Second Generation 3D Embossed Rosewood Composite Balcony Decking Delivers Ultra Realistic Wood Grain Texture and a Premium Natural Wood Experience
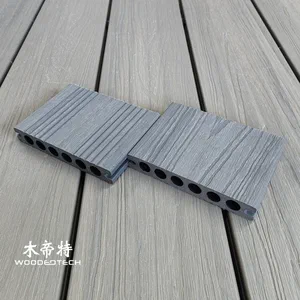 GD13823-3 Light Grey Premium Co Extrusion WPC Composite Decking Offers LG Texture and Excellent UV Resistance for Outdoor Spaces
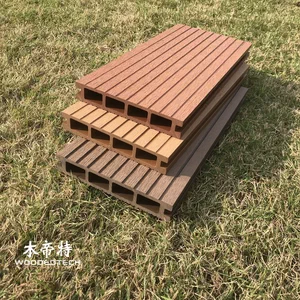 D14025-3 Square Hole Double Sided Grooved WPC Board Factory Producing Outdoor Decking Boards With Good Slip Resistance