
Essential Guide to WPC Cladding Installation: Best Practices for 2023
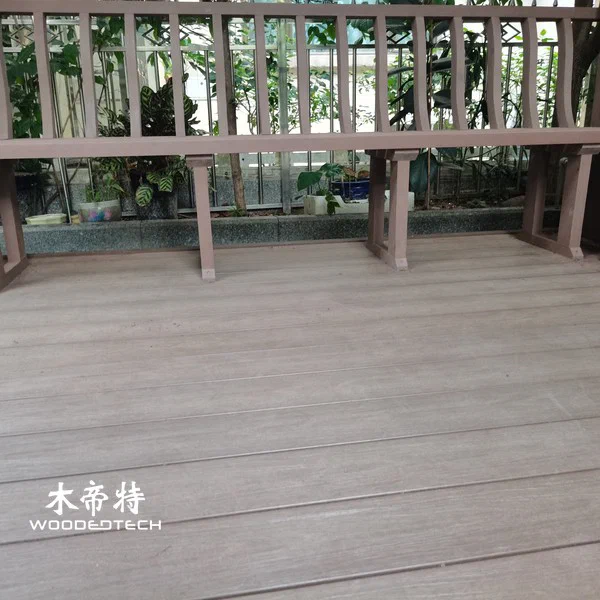
Installing WPC (Wood Plastic Composite) cladding requires careful planning and execution to ensure durability and aesthetic appeal. This guide outlines the essential steps for a successful installation of WPC decking and wall cladding systems, covering subframe preparation, fixing methods, expansion gaps, cutting techniques, and maintenance tips.
Subframe Preparation
Before installing WPC cladding, it’s critical to set up a sturdy subframe. Follow these steps:
- Select the Right Materials: Use treated wood or galvanized steel for the subframe to resist moisture and decay.
- Plan the Layout: Determine the orientation of the cladding and mark the starting point. Ensure the layout accommodates any windows or doors.
- Establish a Level Base: Use a level to ensure that the ground or wall surface is even. If necessary, adjust with shims or leveling compounds.
- Install Support Joists: Space the joists no more than 16 inches apart for vertical cladding and 24 inches for horizontal installations. Secure them firmly to the wall or foundation.
Fixing Methods
Properly securing the WPC panels is essential for stability. Here are the common fixing methods:
- Screws: Use stainless steel or coated screws designed for WPC materials. Pre-drill to prevent splitting.
- Hidden Fasteners: Consider using a hidden fastening system for a cleaner look. These fasteners lock the panels in place without visible screws.
- Adhesive: For some applications, using construction adhesive can help secure panels while providing additional moisture resistance.
Expansion Gaps
WPC materials expand and contract with temperature changes. To avoid issues, maintain proper expansion gaps:
- Leave Gaps: Ensure there are at least 1/4 inch gaps between the panels and adjacent structures to allow for expansion.
- End Gaps: At the ends of the panels, provide a gap of at least 1/8 inch to 1/4 inch for expansion.
- Check Manufacturer Guidelines: Always refer to specific guidelines from the WPC manufacturer regarding expansion requirements.

Cutting Techniques
Accurate cuts are crucial for a professional finish. Use the following techniques for best results:
- Power Tools: A circular saw or miter saw equipped with a fine-tooth blade is ideal for cutting WPC.
- Measuring: Measure and mark carefully before cutting to ensure precision.
- Smooth Edges: After cutting, use a sanding block to smooth any rough edges and prevent splintering.
Maintenance Tips
To keep your WPC cladding looking great and functioning well, follow these maintenance tips:
- Regular Cleaning: Use a soft brush or broom to remove debris. A mild soap and water solution can help with stains. Avoid harsh chemicals that may damage the surface.
- Inspect for Damage: Periodically check for fading, scratches, or signs of wear. Address any concerns promptly to prevent further damage.
- Avoid Heavy Loads: Do not place heavy objects on the cladding that could cause bending or warping.
By following these steps and best practices, you can ensure a successful installation of WPC decking and wall cladding systems that provide both durability and visual appeal.
Related Articles
 Wood And Plastic Decking Tiles Offer Easy Installation For Garden And Patio Flooring Projects
 Install Plastic Wall Panels With Simple Methods For Modern Exterior And Interior Decoration
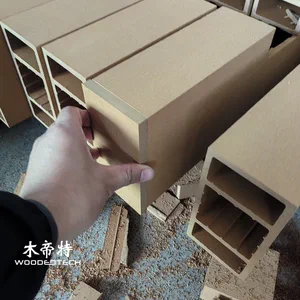 Composite Profile Tolerance: Key Factors for Accurate Installation and Quality Control
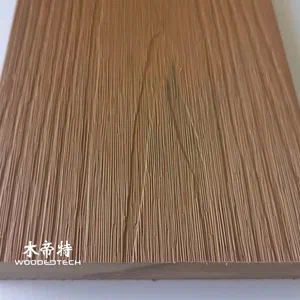 Best Practices for Composite Decking Installation Clips: A Comprehensive Guide for 2023
Related Products
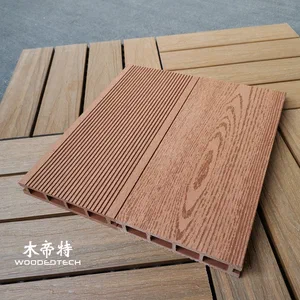 The Classic D14025-4 Red Wood WPC Wood Sheet Features a Timeless 2D Flat Wood Grain Design That Remains Popular After Twenty Years
 B14011 WPC Paneling Sheets Feature Double Flat Surfaces with Heat Pressed Wood Grain Designs for Outdoor Styles
 B17010 Plastic Wood Look Siding Provides Decorative Thin Boards for Modern Outdoor Wall Applications