
Essential Guide to Exterior WPC Wall Panel Installation: Best Practices for 2023
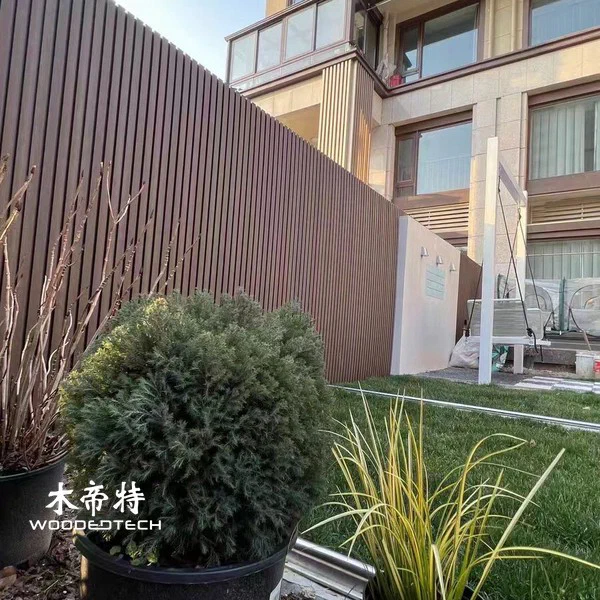
Installing WPC (Wood Plastic Composite) wall panels involves careful planning and execution to ensure a durable and visually appealing finish. This guide outlines the essential steps in the installation process, from preparing the subframe to maintenance tips for longevity.
Subframe Preparation
Before installing WPC wall panels, you must prepare a solid and level subframe. This is crucial for ensuring that the panels are mounted securely and do not warp or sag over time.
- Material Selection: Use pressure-treated wood or aluminum for the subframe to resist moisture and decay.
- Layout Planning: Mark the desired layout on the wall surface to determine the positioning of the subframe.
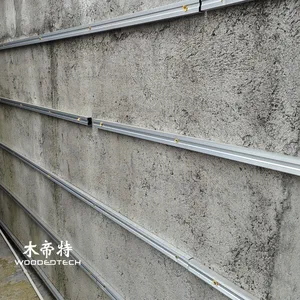
- Install Vertical Battens: Space vertical battens at appropriate intervals, typically 16 to 24 inches apart, depending on panel width. Ensure they are plumb and level.
- Secure the Battens: Use screws or nails to attach the battens to the wall surface, ensuring they are firmly anchored.
Fixing Methods
Once the subframe is in place, it’s time to attach the WPC panels. There are several methods to do this effectively.
- Screw Fixing: Pre-drill holes in the panels to prevent cracking and use stainless steel screws for corrosion resistance. Ensure screws are countersunk to sit flush with the panel surface.
- Clip System: Some WPC products come with a clip system that allows for easier installation and removal. These clips are typically hidden, providing a clean aesthetic.
- Adhesive: For certain applications, construction adhesive may be used alongside mechanical fixing. Apply adhesive to the back of the panel before securing it to the subframe.
Expansion Gaps
WPC materials can expand and contract with temperature changes. It’s important to incorporate expansion gaps during installation to prevent buckling.
- Leave Gaps: Always leave a gap of at least 1/4 inch between the panels and any adjacent structures, such as walls and corners.
- Check Manufacturer Guidelines: Review the specific guidelines for the WPC product being used, as different materials may require different gap sizes.
Cutting the Panels
Cutting WPC panels requires precision to ensure a clean fit and finish.

- Tools: Use a circular saw with a fine-tooth blade or a jigsaw for curved cuts. A miter saw is ideal for angled cuts.
- Measuring: Measure twice before cutting to avoid mistakes. Mark the cutting line clearly.
- Safety Precautions: Always wear safety goggles and a mask when cutting to protect yourself from dust and debris.
Maintenance Tips
To keep your WPC wall panels looking their best and performing well over time, regular maintenance is essential.
- Cleaning: Clean the panels with a mild soap solution and a soft-bristle brush. Avoid harsh chemicals that could damage the surface.
- Inspection: Regularly inspect for loose screws or signs of wear. Tighten or replace components as necessary.
- Sealing: Depending on the product, consider applying a sealant every few years to enhance durability and resistance to stains and moisture.
Following these steps will help ensure a successful installation of your WPC wall panels, providing a long-lasting and attractive finish for your exterior spaces. Proper preparation, careful installation, and regular maintenance are key to maximizing the benefits of this versatile material.
Related Articles
 A Comprehensive Guide on WPC Wall Panel Installation: Tips for 2023
 Install Plastic Wall Panels With Simple Methods For Modern Exterior And Interior Decoration
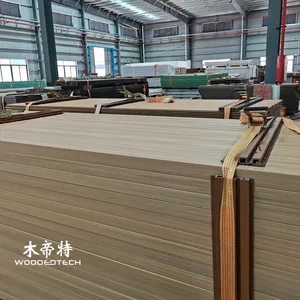 WPC Walls: Industrial Applications, Performance Benefits, and Material Selection Guide
 How To Install Wpc Wall Panel With A Complete Step By Step Guide
Related Products
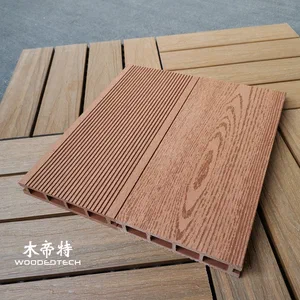 The Classic D14025-4 Red Wood WPC Wood Sheet Features a Timeless 2D Flat Wood Grain Design That Remains Popular After Twenty Years
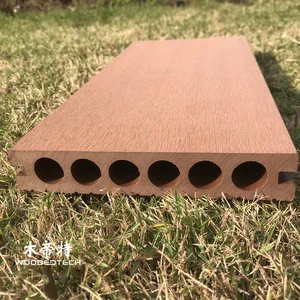 The D14025-5 Wood Composite Panels Feature a Classic Round Hole Design with Optional Embossed Wood Grain and Grooved Surfaces for Outdoor Durability
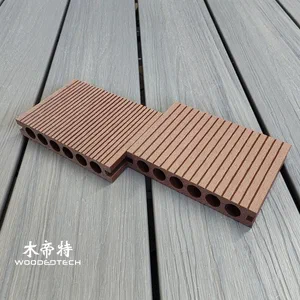 D14025-5 First Generation Large And Small Groove Redwood Color WPC Panel Material With Popular Outdoor Appearance