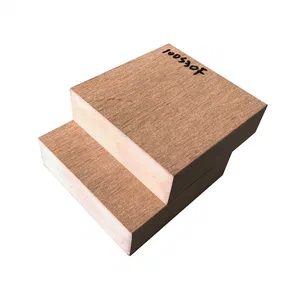
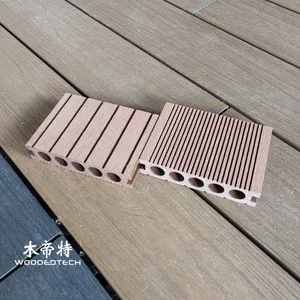
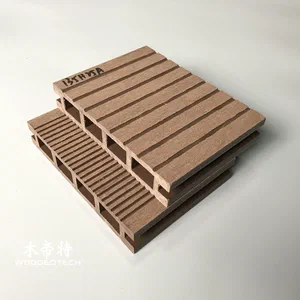
Composite wood decking installation provides step by step solutions for building beautiful outdoor decks
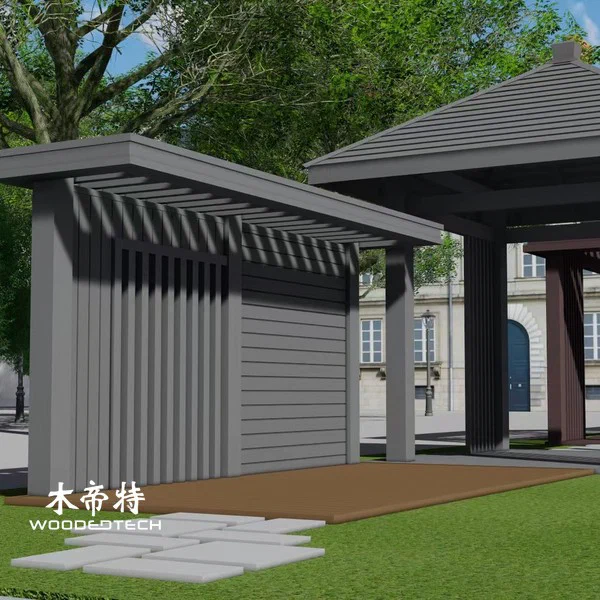
Composite wood decking installation gives you a durable, low-maintenance way to build attractive outdoor decks and wall finishes. This guide walks through the practical steps for preparing the subframe, fixing boards and panels, allowing for expansion, and keeping the finished surface looking sharp.
Preparing the subframe
A successful installation starts below the surface. For decking, use a level, well-drained base with joists spaced to match the board specification, usually closer for hollow profiles and slightly wider for solid boards. For wall cladding, fix battens straight and dry, with enough airflow behind the panels to reduce trapped moisture.
Check that the frame is stable, square, and free from sharp edges. If the base is concrete, use adjustable pedestals or treated sleepers where needed to correct level differences. Always follow the supplier’s recommended joist and batten spacing, because wrong support is the fastest way to create bounce, sagging, or joint movement later.
Installing the decking boards
Start from the most visible edge and work outward. Leave the required expansion gap at walls, posts, and any fixed boundary, since composite wood expands and contracts with temperature changes. A common mistake is fitting boards too tightly; this can cause buckling in hot weather.
Fixing methods depend on the system:
- Hidden clips for grooved boards give a clean surface and allow movement
- Face screws are used for starter boards, edges, and some solid boards
- Stainless steel fasteners are preferred for outdoor durability
Keep screws straight and do not overtighten them. When joining boards end-to-end, leave a small gap over each joist or use a butt-joint detail recommended by the manufacturer. Stagger joints so the deck looks natural and the load is distributed evenly.
Cutting and finishing details
Cut boards with a fine-tooth blade for clean edges and less chipping. Measure twice, especially around corners, drains, steps, and posts. For wall cladding, pre-plan the layout so visible cut lines are balanced on both sides rather than concentrated in one corner.
Seal or cap exposed cut ends if the product requires it. On decks, make sure drainage paths remain open and no debris can trap water between boards. Around wall cladding, keep the bottom edge above ground splash zones and leave ventilation gaps at the top and bottom where specified.
Maintenance tips
Composite wood is easy to maintain, but it still benefits from routine care. Sweep off sand and leaves, wash with mild soap and water, and remove stains before they set. Avoid harsh solvents, metal scrapers, and pressure washers set too close to the surface.

Inspect clips, screws, and joints once or twice a year, especially after seasonal temperature swings. If a board becomes damaged, replace it promptly so the surrounding structure is not affected. Proper installation and light maintenance will keep the deck or cladding stable, tidy, and ready for long-term outdoor use.
FAQ
Q: Do composite decking boards need expansion gaps? A: Yes, expansion gaps are essential at board ends, walls, and fixed edges to allow for thermal movement. The exact gap depends on the profile and the supplier’s instructions.
Q: Can the same fixing method be used for decking and wall cladding? A: Not always. Decking often uses hidden clips or face screws, while wall cladding usually relies on battens, clips, or mechanical fixings designed for vertical load and airflow.
Q: How often should composite wood decking be cleaned? A: Routine cleaning every few weeks is usually enough to remove dirt and debris. A deeper wash a few times a year helps keep the surface looking fresh.
Related Articles
 Composite decking 3mm hidden fasteners provide neat installation solutions for seamless outdoor deck surfaces
 WPC Wall Cladding Installation Guide Step by Step
 best composite decking 2022 offers popular outdoor flooring choices with proven market performance
 composite deck joist span table helps plan safe and efficient outdoor decking structures