
Composite Decking with Hidden Fasteners: Benefits and Installation Guide
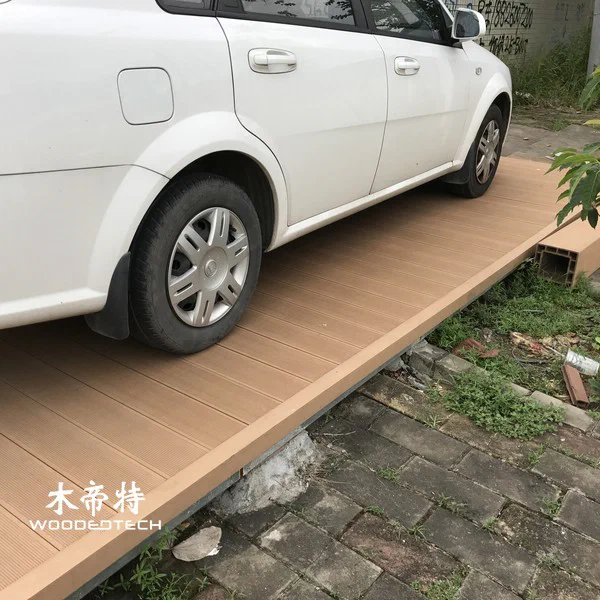
Composite decking with hidden fasteners creates a clean, seamless outdoor surface without visible screw heads or exposed fixings. This installation method improves the appearance of WPC decking while maintaining consistent board spacing and allowing for natural thermal movement. With proper subframe preparation, suitable clips, and correct installation techniques, hidden-fastener systems can deliver a durable, low-maintenance deck for residential and commercial projects.
1. Why Choose Composite Decking with Hidden Fasteners?
Hidden fasteners are designed to secure grooved composite decking boards from the sides rather than through their visible surfaces. Special clips fit into the grooves along the board edges and attach to the supporting joists, creating a secure connection while keeping the deck surface free from exposed screws.
The main benefits include:
- Clean appearance: No visible screw heads interrupt the wood-grain finish, creating a smooth and consistent decking surface.
- Consistent spacing: Installation clips help maintain uniform gaps between boards, improving drainage and overall appearance.
- Reduced surface damage: Because fasteners are installed along the board edges, there is less risk of visible splitting or surface cracking caused by incorrect top-down screwing.
- Easier maintenance: Individual boards can often be removed and replaced without dismantling the entire deck, depending on the fastening system and installation sequence.
- Improved installation efficiency: Pre-designed clips and compatible screws simplify repetitive fixing work and help installers maintain consistent results.
Hidden fastening is particularly suitable for balconies, garden terraces, pool surrounds, patios, and commercial outdoor spaces where appearance and long-term performance both matter.
2. Prepare the Subframe Before Installation
A stable subframe is essential for preventing movement, uneven surfaces, and premature decking damage. Before laying any boards, inspect the installation area and confirm that the foundation can support the expected loads.
For ground-level decking, remove vegetation, loose soil, and debris. Prepare a stable base using compacted gravel or concrete, depending on the site conditions. Ensure that water can drain away from the structure rather than collecting beneath the deck.
Install WPC-compatible or corrosion-resistant support joists across the prepared foundation. Aluminum joists and treated structural timber may both be suitable, provided they meet the decking manufacturer’s requirements.
Important preparation considerations include:
- Joist spacing: Follow the manufacturer’s specifications. A typical residential installation may use 300–400 mm center-to-center spacing, with closer support often required for diagonal layouts or higher-load applications.
- Level and alignment: Check the subframe with a spirit level and string line to ensure consistent board support.
- Drainage: Maintain adequate ventilation and drainage beneath the decking.
- Perimeter support: Add extra joists around deck edges, board ends, steps, and areas where additional fittings will be installed.
- Fixing strength: Secure the joists firmly to the foundation using suitable anchors and brackets.
For wall cladding applications, use a separate vertical or horizontal batten framework designed for the selected WPC wall panels. Do not assume that decking clips are suitable for wall cladding; each system requires compatible fixing accessories.
3. Choose the Correct Hidden Fasteners
Not all hidden fastening systems are interchangeable. Before installation, check that the clips match the board profile, groove dimensions, and supporting joist material.
Common fastening components include:
- Starter clips: Used to secure the first decking board along the installation edge.
- Intermediate clips: Positioned between adjacent boards to hold them securely and maintain consistent spacing.
- End clips: Used where required to secure the final board.
- Stainless steel or coated screws: Selected according to the clip design and subframe material.
Some composite decking systems use plastic clips, while others use stainless steel or reinforced composite fasteners. The appropriate choice depends on the board design, environmental exposure, and manufacturer’s recommendations.
Before beginning, arrange the clips, screws, drill, measuring tape, spirit level, circular saw, and protective equipment within easy reach.
4. Step-by-Step Installation Guide
Step 1: Install the Starter Board
Position the first composite decking board along the designated starting edge. Check that it is straight and correctly aligned with the subframe.
Attach the board using the manufacturer’s specified starter clips. Secure the clips to the joists without overtightening the screws. The first board establishes the alignment for the entire installation, so take time to verify its position.
Step 2: Fit the Intermediate Clips
Insert an intermediate clip into the side groove of the installed board at each joist intersection. Position the next decking board against the clips, ensuring that the fasteners engage correctly with both board grooves.
Secure each clip using the recommended screws. Continue this process across the deck, checking alignment and board spacing regularly.
Avoid forcing boards into position. Excessive pressure can damage the grooves or distort the clips.
Step 3: Maintain Expansion Gaps
WPC decking expands and contracts in response to temperature changes. Adequate expansion gaps are therefore essential for preventing boards from buckling, lifting, or pressing against surrounding structures.
Allow the manufacturer’s specified clearance at:
- Board ends and adjacent boards.
- Decking edges and perimeter walls.
- Fixed structures, posts, and other obstacles.
- Joints between boards installed end-to-end.

As a general reference, some systems require approximately 5–8 mm between board ends, but the correct clearance depends on board length, installation temperature, and product specifications. Always follow the manufacturer’s expansion-gap chart rather than applying one measurement to every project.
Step 4: Cut and Fit the Final Boards
Measure the remaining deck width before cutting the final boards. Use a circular saw or suitable power saw with a sharp blade designed for composite materials.
Mark cutting lines carefully and support the board securely during cutting. Wear safety glasses and a dust mask to protect against airborne particles.
After cutting, remove loose debris and inspect the board edges. Install the final board using the manufacturer’s recommended edge clips, face-fixing method, or other approved finishing accessories.
Step 5: Complete the Edges and Inspect the Surface
Install matching fascia boards, edge trims, or finishing profiles to cover exposed subframe components. Ensure that these accessories do not obstruct ventilation or drainage.
Walk across the completed deck and check for loose boards, inconsistent gaps, raised edges, and movement around fixing points. Tighten or adjust any components that do not meet the installation requirements.
5. Common Installation Mistakes to Avoid
Even high-quality composite decking can experience performance problems when installation details are overlooked.
Common mistakes include:
- Using incompatible clips that do not fit the board grooves correctly.
- Installing joists too far apart, causing excessive board movement.
- Leaving insufficient expansion clearance around fixed structures.
- Overtightening screws and damaging fastening components.
- Installing decking directly against walls without ventilation or drainage gaps.
- Ignoring the manufacturer’s requirements for end joints and board overhangs.
Another important consideration is mixing components from different manufacturers. Decking boards, clips, and joists should form a compatible system. Combining unrelated accessories can affect fixing strength and may invalidate product warranties.
6. Maintenance Tips for Long-Term Performance
One advantage of WPC decking is its relatively low maintenance requirement compared with traditional timber. However, regular cleaning and inspection are still necessary to preserve its appearance and structural performance.
Sweep away leaves, dirt, and other debris regularly, particularly from the gaps between boards. Clean the surface using water, a soft-bristle brush, and a mild detergent when necessary. Avoid harsh chemicals and abrasive cleaning tools unless specifically approved by the manufacturer.
Inspect the decking periodically for loose clips, damaged boards, blocked drainage channels, and signs of subframe movement. Pay particular attention to high-traffic areas, pool surrounds, and exposed outdoor locations.
If an individual board becomes damaged, check whether the fastening system allows removal and replacement without disturbing adjacent boards. Keeping spare boards and compatible clips from the original production batch can also make future repairs easier.
For outdoor projects exposed to strong sunlight, heavy rainfall, or seasonal temperature changes, follow the manufacturer’s recommended inspection schedule. Proper cleaning, ventilation, and timely repairs will help maintain the decking system’s appearance and service life.
A well-installed composite decking system with hidden fasteners combines a refined appearance with practical performance. By preparing a stable subframe, selecting compatible fixing clips, maintaining correct expansion gaps, and following the recommended installation sequence, contractors and installers can achieve a consistent finish that meets the demands of modern outdoor spaces.
Related Articles
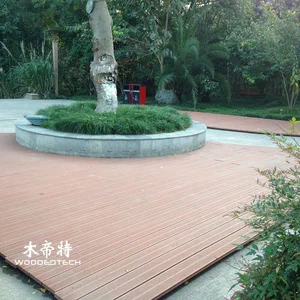 Composite Deck Over Concrete Patio: Installation Methods and Key Benefits
 Optimizing Project Efficiency with Composite Decking Installation Tools
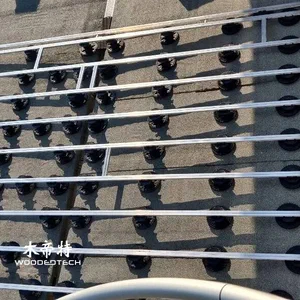 Composite Decking Spacing Between Joists: Industry Standards and Best Practices
 DIY Composite Deck Allows Homeowners to Build Personalized Outdoor Living Spaces Easily
Related Products
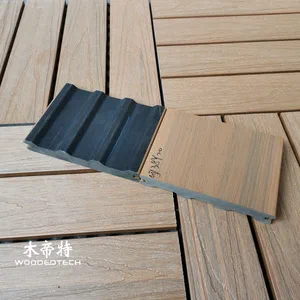 GD13820 M Shape Co Extruded Composite Deck Planks Feature a Special Profile Design for Distinctive Outdoor Decking Applications
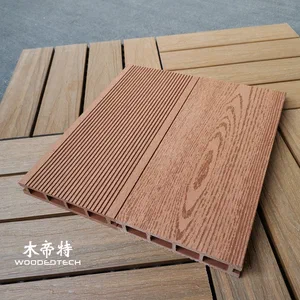 The Classic D14025-4 Red Wood WPC Wood Sheet Features a Timeless 2D Flat Wood Grain Design That Remains Popular After Twenty Years
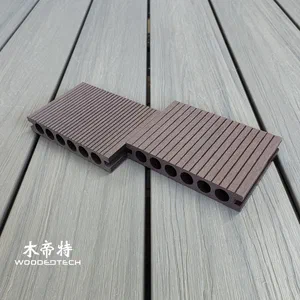 The D14025-6 Composite Decking 2 x 4 Features a Practical Walnut Design with Double-Sided Large and Small Grooves for Versatile Outdoor Applications