
Composite Decking Gaps: Industry Standards, Installation Guidelines, and Quality Control
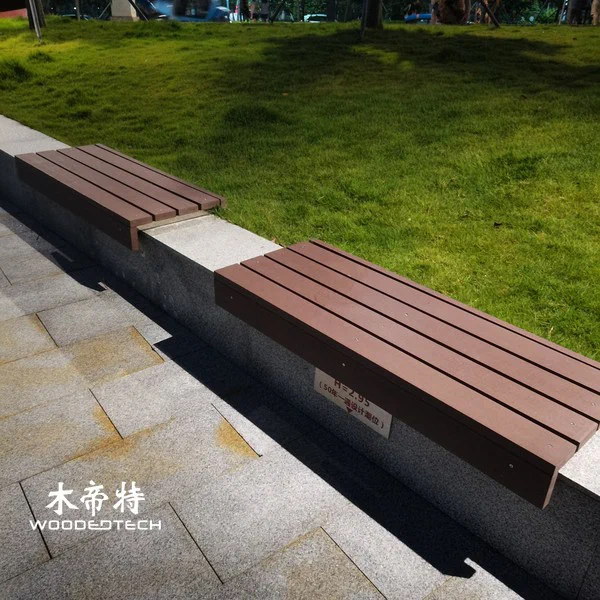
Composite decking gaps are essential to the performance, appearance, and service life of a WPC decking installation. Correct spacing allows boards to expand and contract with temperature changes, provides effective drainage and ventilation, and prevents buckling, surface deformation, and premature fixing failure. Installers should follow the decking manufacturer’s specifications and applicable local building requirements rather than relying on a single universal gap measurement.
1. Understanding Composite Decking Gap Standards
Unlike traditional timber, wood plastic composite decking responds differently to changes in temperature and moisture. Although WPC boards generally absorb less moisture than natural wood, they still experience thermal expansion and contraction. The required spacing depends on board composition, profile design, length, installation temperature, and fixing system.
There is no single international gap standard that applies to every composite decking product. Manufacturers provide installation specifications based on product testing and material characteristics. These instructions should take priority over generic industry recommendations.
Three types of gaps need attention during installation:
- Side-to-side gaps: Spaces between adjacent decking boards that allow drainage and accommodate dimensional movement.
- End-to-end gaps: Clearance between the ends of two boards, particularly important for long decking runs.
- Perimeter gaps: Spaces between decking and fixed structures such as walls, posts, steps, and building foundations.
For many conventional WPC decking systems, side gaps commonly fall within approximately 3–6 mm, while end gaps may require 5–10 mm or more depending on board length and temperature. These figures are indicative only. Always verify the actual requirements in the manufacturer’s installation manual.
2. Preparing the Subframe Before Installation
A properly prepared subframe is essential for maintaining consistent composite decking gaps. Even high-quality decking boards can develop uneven joints, movement, or structural problems when installed on an unsuitable supporting structure.
Begin by checking that the installation surface is stable, level, and capable of supporting the expected loads. Concrete foundations should have suitable drainage slopes, while elevated installations require a properly designed joist system.
For WPC decking, the subframe may use treated timber, aluminum joists, or compatible composite support profiles. The selected material must be suitable for outdoor exposure and compatible with the decking’s fixing system.
Important preparation steps include:
- Measure the installation area and establish the decking direction.
- Position joists according to the manufacturer’s recommended spacing and expected loading conditions.
- Check that all joists are aligned, level, and securely anchored.
- Provide adequate ventilation beneath the decking.
- Confirm that water can drain away without collecting beneath the boards.
- Install additional support beneath board ends, joints, and areas carrying concentrated loads.
Joist spacing is typically around 300–400 mm for many residential decking systems, but heavier commercial applications and specific board profiles may require closer support. Board ends should always have appropriate structural support rather than relying on unsupported overhangs.
3. Step-by-Step Composite Decking Installation and Gap Control
Once the subframe is ready, installers can begin laying the decking boards. Accurate positioning during the first few rows is particularly important because small alignment errors can become more noticeable across larger surfaces.
Step 1: Acclimatize the decking boards
Store boards flat on a clean, level surface near the installation area. Follow the manufacturer’s storage and acclimatization instructions. Avoid installing boards that have become excessively hot from direct sunlight without accounting for their actual temperature.
Step 2: Install the starter clips
Position the starter clips along the outside edge of the subframe. Secure them using compatible corrosion-resistant screws. Check the alignment before fitting the first board.
Step 3: Position the first decking board
Place the first board into the starter clips and verify that it is straight. Use a chalk line or laser level to maintain a consistent reference across the installation.
Step 4: Install hidden fixing clips
Insert the manufacturer’s specified fixing clips into the side grooves of the decking boards. Secure each clip to the joist using the recommended screws. Do not overtighten, as excessive pressure can damage the fixing system or restrict intended movement.

Step 5: Maintain consistent spacing
Use compatible spacers or the manufacturer’s clip system to maintain uniform side gaps. Check the spacing regularly instead of assuming that every board will remain correctly positioned during installation.
Step 6: Control end joints
When two boards meet end-to-end, leave the specified expansion clearance. For staggered layouts, ensure that both board ends are supported and that adjoining joints do not create weak or uneven sections.
Step 7: Complete the perimeter
Maintain the required clearance around walls, posts, drainage outlets, and other fixed objects. Install fascia boards or edge trims without blocking ventilation or preventing water drainage.
4. Thermal Expansion, Cutting, and Fixing Methods
Temperature-related movement is one of the most important considerations when controlling composite decking gaps. Boards installed during cold weather may expand as temperatures rise, while boards installed in hot conditions may contract during cooler periods.
For this reason, expansion allowances should be calculated according to the board’s length, expected temperature range, and manufacturer’s technical data.
For example, a long decking board installed in a cool climate may require greater end clearance than a shorter board installed in a consistently warm environment. Installers should never assume that a gap suitable for one project will automatically work for another.
Cutting also affects installation quality. Use a suitable carbide-tipped circular saw or mitre saw to achieve clean, accurate cuts. Measure carefully before cutting, and support the board to prevent vibration or edge damage.
The most common fixing methods include:
- Hidden clip systems: Provide a clean surface without visible screw heads and help maintain consistent board spacing.
- Face fixing: Uses approved screws driven through the board surface where the manufacturer permits this method.
- Starter and finishing clips: Secure the first and last boards while maintaining the required edge clearance.
For wall cladding applications, the same principles of movement control apply, but the fixing arrangement differs. WPC wall panels should be installed on a suitable vertical batten or aluminum support system, with the manufacturer’s specified ventilation cavity, joint clearance, and fixing positions. Leave appropriate movement gaps around corners, windows, doors, and other fixed structures.
5. Quality Control: Common Installation Problems and Solutions
Consistent gap control is an important part of composite decking quality inspection. Before handing over a completed project, installers should examine the entire surface rather than checking only the visible perimeter.
Common installation problems include:
- Uneven gaps: Usually caused by inconsistent clip positioning, inaccurate joist alignment, or poor installation technique.
- Buckling boards: May result from insufficient expansion clearance, restricted fixing systems, or inadequate subframe support.
- Open end joints: Can occur when thermal movement has not been properly considered.
- Water accumulation: Often indicates insufficient drainage slope, blocked drainage channels, or inadequate ventilation.
- Loose boards: May result from incompatible clips, incorrect screw selection, or insufficient fixing support.
A practical quality-control inspection should include checking board alignment, measuring representative joint gaps, confirming that end joints are supported, and inspecting the stability of all visible fixings.
For commercial projects, installers can maintain a quality inspection record containing board dimensions, installation temperature, specified gap measurements, joist spacing, fixing details, and inspection results. Photographs taken during subframe preparation and installation also provide useful documentation for project handover.
6. Long-Term Maintenance and Gap Inspection
Composite decking is designed to reduce the maintenance associated with traditional timber, but regular inspection remains important. Dirt, leaves, and other debris can accumulate between boards and restrict drainage.
Clean the decking periodically using water, a soft brush, and a suitable cleaning product approved by the manufacturer. Avoid aggressive chemicals and cleaning equipment that may damage the surface finish.
Inspect the following areas at least once or twice a year, depending on site exposure and usage:
- Side and end gaps for accumulated dirt or debris.
- Board edges for signs of lifting, cracking, or deformation.
- Fixing clips and screws for looseness or corrosion.
- Drainage channels and perimeter spaces for obstructions.
- Wall cladding joints for movement-related damage and water penetration.
If gaps become noticeably uneven, identify the cause before attempting repairs. Simply widening or filling a joint without addressing the underlying installation problem may lead to further damage.
A well-installed WPC decking system depends on more than board quality. Correct subframe preparation, manufacturer-approved fixing methods, accurate expansion allowances, and routine quality inspections all contribute to a stable, attractive, and durable outdoor surface. For contractors, distributors, and project developers, following these installation practices helps reduce callbacks, improve project consistency, and protect the long-term value of composite decking installations.
Related Articles
Related Products
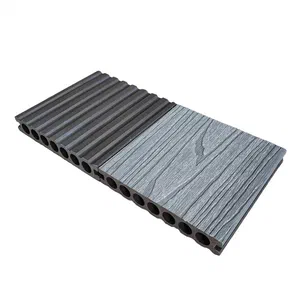
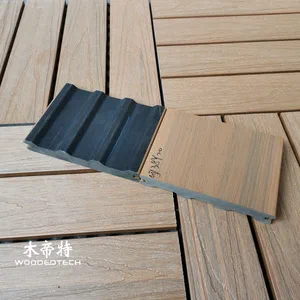 GD13820 M Shape Co Extruded Composite Deck Planks Feature a Special Profile Design for Distinctive Outdoor Decking Applications
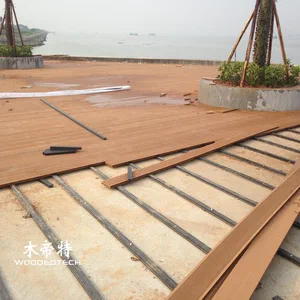
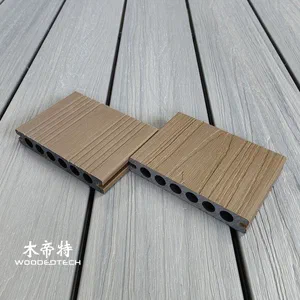 GD13823-3 Teak TK Co Extruded Decking Is a Popular Choice from Composite Decking Suppliers for Outdoor Flooring Projects
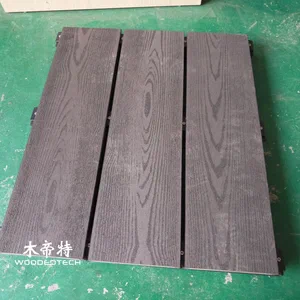
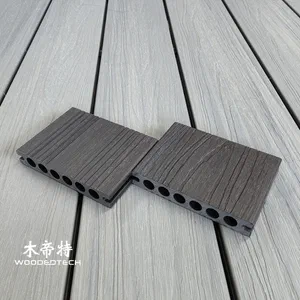 GD13823-3 Walnut WN Co Extruded Decking Features a Dark Rich Color That Helps Resist Visible Dirt and Stains