
Composite Decking Corner Trim: Specifications, Applications and Installation Guidelines
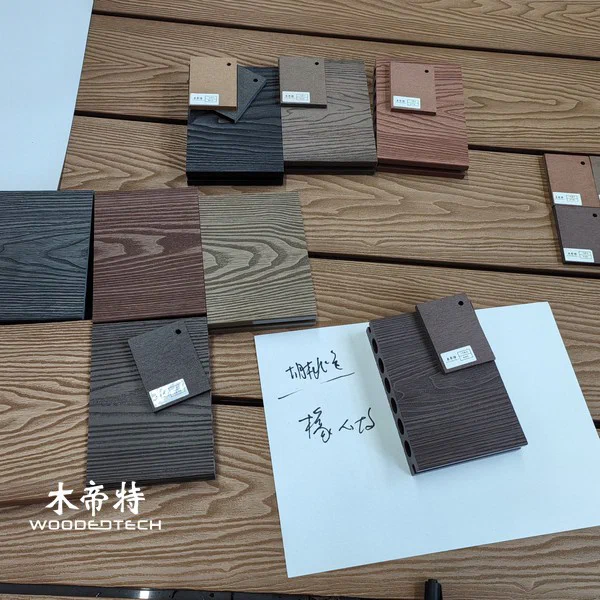
Composite decking corner trim is a finishing component used to cover exposed board edges, protect deck corners, and create a clean transition between decking surfaces and adjacent structures. Available in different profiles, dimensions, and finishes, it helps improve the appearance and durability of WPC decking installations. Correct selection and installation ensure a consistent finish while allowing for material expansion and contraction.
1. What Is Composite Decking Corner Trim?
Composite decking corner trim is an accessory designed to finish exposed edges, outside corners, steps, and perimeter sections of a composite deck. It is commonly manufactured from wood plastic composite (WPC), matching the material and appearance of the decking boards.
Unlike standard decking boards, which form the main walking surface, corner trim covers joints and cut edges that would otherwise remain visible. It also helps protect vulnerable edges from everyday contact, moisture exposure, and accidental impact.
Common applications include:
- Outside corners along deck perimeters.
- Exposed edges around balconies and terraces.
- Deck steps and stair landings.
- Transitions between decking and walls.
- Finishing details around swimming pools and garden platforms.
Corner trim is available in straight, L-shaped, and other customized profiles. The correct shape depends on the installation position and the edge detail that needs to be covered.
2. Specifications and Material Options
Before purchasing composite decking corner trim, check its dimensions, profile, material composition, and surface finish. These specifications determine whether the accessory will fit the decking system and provide a consistent appearance.
Typical specifications include:
- Material: Wood plastic composite, commonly made from a mixture of wood fibers and thermoplastics.
- Profile: L-shaped, square-edge, flat-edge, or customized corner profiles.
- Surface finish: Wood grain, brushed, embossed, or smooth finishes.
- Color options: Grey, brown, teak, charcoal, and other colors coordinated with composite deck boards.
- Length: Supplied in standard or customized lengths depending on the manufacturer.
- Installation: Mechanical fixing, compatible clips, screws, or approved adhesive systems, depending on the profile.
WPC corner trim can be produced using solid or hollow profiles. Solid profiles are generally suitable for applications requiring greater edge strength, while hollow profiles can reduce material weight.

Some manufacturers also offer capped or co-extruded finishes. These products feature a protective polymer surface designed to improve resistance to stains, moisture, and UV exposure. However, the actual performance depends on the product formulation and manufacturing quality.
Always confirm the manufacturer’s technical drawings and installation recommendations before ordering. Profile dimensions and fixing requirements are not universal across different composite decking systems.
3. Tools and Preparation Before Installation
Proper preparation is essential for a neat and durable finish. Before installing corner trim, inspect the decking perimeter and confirm that the supporting subframe is stable.
For outdoor WPC decking, the subframe is commonly constructed from aluminum or compatible WPC joists. Joists should be installed at the spacing specified by the decking manufacturer, with additional support provided near board ends, perimeter edges, and corners.
Check the following before installation:
- Confirm that the decking boards are securely fixed and properly aligned.
- Check that the deck surface has the required drainage slope.
- Ensure that exposed edges are straight, clean, and free from loose material.
- Verify that the corner trim dimensions match the intended installation position.
- Allow the materials to acclimatize according to the manufacturer’s instructions.
Prepare the following tools:
- Measuring tape and pencil.
- Circular saw or fine-tooth cutting saw.
- Drill and suitable drill bits.
- Screwdriver or impact driver.
- Stainless steel screws or approved fixing accessories.
- Spirit level and square.
- Safety glasses, gloves, and hearing protection.
For installations near walls or other structures, make sure the planned trim position does not block drainage or ventilation openings.
4. Step-by-Step Composite Decking Corner Trim Installation
Step 1: Measure the Decking Edges
Measure the exposed perimeter and identify all outside corners, joints, and transitions requiring finishing. Record the required trim lengths and check the profile orientation.
For L-shaped trim, determine which side will cover the horizontal decking edge and which side will form the vertical finish. Accurate measurements help reduce unnecessary joints and material waste.
Step 2: Prepare the Supporting Structure
Corner trim should have adequate support along its fixing points. Where the trim extends beyond the existing decking support, install additional blocking or a suitable perimeter joist.
Do not rely on unsupported decking edges to carry the trim. A stable subframe reduces movement and helps prevent loose fixings over time.
Step 3: Cut the Corner Trim
Mark the required cutting length and use a suitable saw to achieve a straight, clean cut. For outside corners, a 45-degree mitre can create a continuous visual transition when the profile allows this type of joint.
Remove burrs and loose particles after cutting. Avoid excessive sanding, especially on capped or factory-finished surfaces, as this may damage the protective layer.
Step 4: Position and Align the Trim
Place the corner trim against the exposed decking edge and check its alignment with the board surface. Make sure the trim covers the cut edge without obstructing drainage channels or ventilation gaps.
For corner joints, dry-fit both sections before fastening. Adjust the cutting angle or length if necessary to achieve an even joint.
Step 5: Fix the Trim Securely
The fixing method depends on the profile design and manufacturer’s recommendations.
Common methods include:
- Screws: Use corrosion-resistant stainless steel screws suitable for outdoor applications. Pre-drill where required to reduce the risk of splitting or surface damage.
- Clips: Use compatible concealed fixing clips when the trim system is designed for clip installation.
- Adhesive: Apply only a manufacturer-approved exterior adhesive where the profile specifically permits adhesive fixing.
Position fixings at the recommended intervals and avoid overtightening. Screws should secure the trim without deforming the profile or restricting its natural movement.
Step 6: Allow for Expansion Gaps
WPC materials expand and contract as temperatures change. Leave the specified clearance at joints, ends, and connections with fixed structures.
The required gap depends on the product composition, profile dimensions, installation temperature, and manufacturer guidelines. Do not assume that the same clearance applies to every WPC product.
Avoid fixing corner trim so tightly that thermal movement becomes impossible. Insufficient expansion space can cause buckling, joint separation, or deformation during hot weather.
Step 7: Inspect the Finished Installation
Check that all trim sections are straight, securely attached, and properly aligned. Look for exposed sharp edges, uneven mitre joints, loose screws, and visible gaps.
Clean the installation area and remove sawdust and drilling debris. The finished corner should provide continuous edge coverage without interfering with deck drainage.
5. Maintenance Tips for Long-Term Performance
Composite decking corner trim generally requires less maintenance than traditional timber finishing materials, but regular inspection is still important.
Use these maintenance practices:
- Clean the trim periodically with water and a soft brush to remove dirt and surface deposits.
- Use mild soap for stubborn stains, following the manufacturer’s cleaning recommendations.
- Avoid aggressive solvents, abrasive pads, and harsh chemicals that may damage the surface.
- Inspect screws and clips periodically, especially after seasonal temperature changes.
- Check corner joints for separation, movement, or damage.
- Keep drainage channels and gaps clear of leaves and accumulated debris.
For poolside decks and other moisture-prone areas, inspect the fixing components regularly for corrosion and ensure that water can drain freely.
When replacing damaged trim, use a compatible profile with matching dimensions and surface characteristics. Mixing accessories from different systems without checking compatibility can lead to uneven finishes and unreliable connections.
Selecting the right composite decking corner trim and following the correct installation procedure helps create a professional-looking deck perimeter. Proper subframe support, suitable fixing methods, accurate cutting, and adequate expansion clearance are essential for maintaining a secure and attractive finish throughout the service life of the WPC decking system.
Related Articles
Related Products
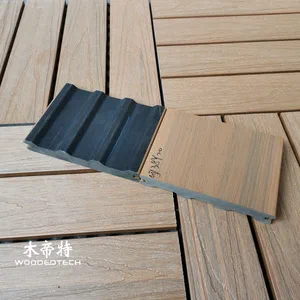 GD13820 M Shape Co Extruded Composite Deck Planks Feature a Special Profile Design for Distinctive Outdoor Decking Applications
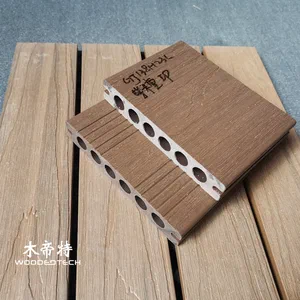 GD13823-3 Composite Boards for Decking Are Available in Multiple Stock Colors with 3 Meter Lengths and Single Piece Delivery
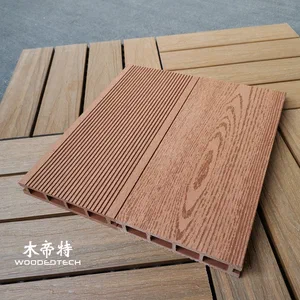 The Classic D14025-4 Red Wood WPC Wood Sheet Features a Timeless 2D Flat Wood Grain Design That Remains Popular After Twenty Years