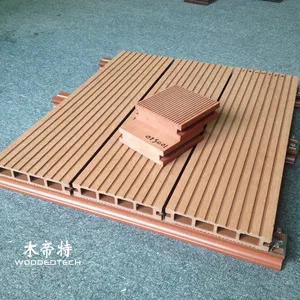
Composite decking 3.6 m lengths support efficient installation for large outdoor decking projects

Composite decking 3.6 m lengths make large outdoor projects faster to install, with fewer joins and a cleaner finished look. This guide covers the practical steps for fitting WPC decking and wall cladding correctly, from subframe preparation to fixing, spacing, cutting, and care.
Prepare the subframe properly
A good installation starts with a straight, dry, and level subframe. For decking, use treated timber joists or aluminum composite joists that are suitable for outdoor use, and space them according to the board manufacturer’s recommendation, usually tighter at board ends and high-load areas. For wall cladding, make sure the battens are plumb, evenly spaced, and firmly anchored to the wall structure.
Check drainage before fixing anything. WPC products perform best when water can move away freely, so leave airflow under decking and avoid trapping moisture behind cladding.
Plan board layout and expansion gaps
Before installation, dry-lay the boards to confirm direction, spacing, and joint positions. With 3.6 m lengths, you can often reduce butt joints on large decks, which saves time and improves appearance. Still, leave expansion gaps at board ends, around posts, and at fixed edges because WPC moves slightly with temperature.
Typical gap sizes depend on the product, but a safe approach is:
- 5–8 mm between boards
- 10–15 mm at walls, posts, and perimeter edges
- Extra clearance in hot climates or long runs
Never install WPC boards tightly against a fixed surface.
Fix decking boards and wall cladding securely
For decking, most systems use hidden clips for a clean surface. Start from one straight edge, lock the first board in place, and continue with clips or fasteners at every joist crossing. If the board profile requires face fixing at ends or trims, pre-drill to reduce splitting and use corrosion-resistant screws.
For wall cladding, install the starter trim or first batten line level, then fix each panel with the recommended clip or screw method. Keep fixings consistent and do not overtighten. Overdriven screws can restrict movement and lead to warping or surface damage.
If you need a seamless finish, stagger end joints and support each board end with proper framing. Avoid unsupported joins.
Cut, finish, and seal carefully
Use a fine-tooth blade for clean cuts on WPC decking and cladding. Cut slowly to reduce chipping, and measure twice because cut edges are visible on finished installations. Where ends are exposed, use matching edge trims or fascia boards for a neat result.
For corners, openings, and trims, allow movement space behind the finish pieces. If the project includes steps, edges, or vertical transitions, use purpose-made profiles rather than forcing standard boards into the detail.
Maintenance tips for long service life

WPC needs less care than timber, but it still benefits from routine cleaning. Remove dirt, leaves, and standing water regularly, and wash with mild soap and water when needed. Avoid harsh solvents, abrasive pads, and pressure washing too close to the surface.
For best results:
- Inspect clips, screws, and trims seasonally
- Clear gaps so drainage stays open
- Clean spills quickly to prevent staining
- Recheck edge gaps after the first hot and cold season
FAQ
Q: Can 3.6 m composite decking boards reduce installation time? A: Yes, longer boards reduce the number of butt joints, which speeds up work and creates a cleaner look. They are especially useful on large decks with long straight runs.
Q: Should WPC decking be installed with gaps between boards? A: Yes, expansion gaps are essential because WPC expands and contracts with temperature changes. Follow the product guide, and never butt boards tightly together.
Q: What is the best way to clean WPC decking and cladding? A: Use water, mild soap, and a soft brush or cloth. Avoid strong chemicals and aggressive scrubbing tools that can damage the surface.
Related Articles
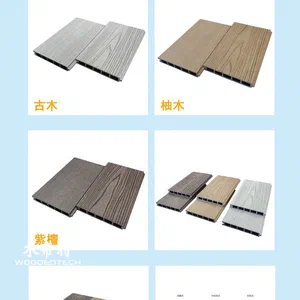 Wood plastic composite flooring installation provides practical guidance for creating durable outdoor floors
 labor cost to install composite decking varies based on project size design and installation conditions
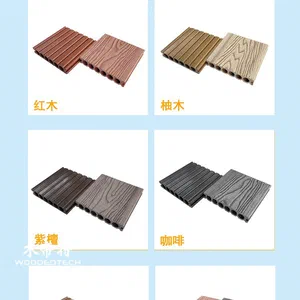 Composite decking questions help customers understand materials installation and maintenance requirements
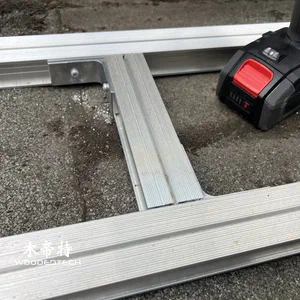 composite deck joist span table helps plan safe and efficient outdoor decking structures
Related Products
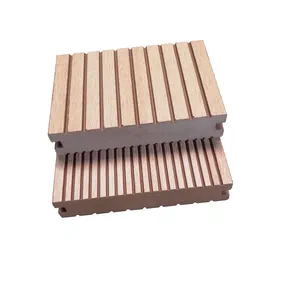 D13740S 40mm Thick Solid Composite Decking Material for Durable Outdoor Flooring Applications
 D14040-2S Square Solid Composite Deck Boards Without Side Grooves for Outdoor Decking
 D10030S outdoor floor narrow board design offers an elegant appearance with solid structure and excellent load bearing performance