composite deck over concrete patio creates an attractive outdoor living area with easy installation
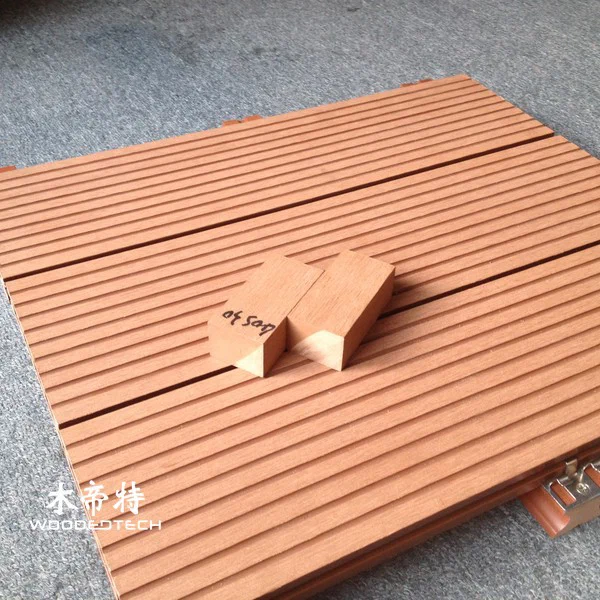
A composite deck over a concrete patio is one of the cleanest ways to upgrade an outdoor area without major demolition. With the right subframe, fixing method, and expansion spacing, you can create a durable, low-maintenance surface that also works well for matching wall cladding.
Planning the Installation
Start by checking the concrete patio for level, drainage, cracks, and moisture issues. A composite deck should never trap standing water, so the finished surface must sit on a stable base with a slight fall for runoff.
Before you begin, confirm the board direction, perimeter details, and any transitions to doors or steps. If you are installing matching cladding, plan the deck and wall layout together so the colors, joints, and trim lines feel consistent.
Subframe Preparation
For decking over concrete, use treated timber or aluminum joists fixed on adjustable pads or sleepers to create a ventilated subframe. Keep the frame dry, straight, and evenly spaced, and make sure it does not sit directly in puddles.
Typical joist spacing depends on the board profile, but most composite decking performs best when spacing is kept tight enough to avoid flexing. Leave a small gap between the subframe and walls to allow air movement and prevent moisture buildup.
For wall cladding, install vertical battens or a manufacturer-approved carrier system on a flat, secure surface. The wall frame must be plumb and aligned, because any twist will show through the finished panels.
Fixing the Boards and Panels
Use the fixing system recommended for the specific product. Many decking boards use hidden clips for a cleaner finish, while starter clips or face screws are used at edges and cut ends. Tighten fixings firmly, but do not overtighten and crush the material.

For wall cladding, use concealed clips or screws through the tongue-and-groove or fixing flange, depending on the panel design. Keep fasteners stainless or coated for exterior use, especially in damp or coastal environments.
Allow expansion gaps at all fixed points, perimeter edges, and board ends. Composite materials move slightly with temperature, so leaving the correct gap prevents buckling and noise. Follow the supplier’s gap chart rather than guessing.
Cutting, Edging, and Finishing
Cut boards with a fine-tooth saw blade for a clean edge. Measure twice, cut once, and support the material properly to avoid chipping.
At the perimeter, use trim boards, corner profiles, or fascia pieces to hide the subframe and give the deck a finished look. Around posts, drains, or steps, leave neat clearances and seal only where the product instructions allow it.
Maintenance Tips
- Sweep off sand and debris regularly.
- Wash with mild soap and water when needed.
- Remove grease or stains quickly before they set.
- Keep drainage paths open under the deck.
- Inspect clips, screws, and trim after seasonal temperature changes.
Composite decking and cladding are designed for easy care, but they still need basic cleaning and periodic inspection. A well-prepared base and correct spacing matter more than any coating or sealant.
FAQ
Q: Can composite decking be installed directly on concrete? A: No, it should be installed on a subframe or sleeper system to allow drainage and airflow. Direct contact with concrete can trap moisture and reduce performance.
Q: Do composite boards need expansion gaps? A: Yes, expansion gaps are essential at board ends, edges, and fixed points. The exact gap size depends on the brand and temperature during installation.
Q: Is composite wall cladding installed the same way as decking? A: The basic principles are similar, but cladding uses vertical battens or panel carriers instead of deck joists. Always follow the product-specific installation guide.
Related Articles
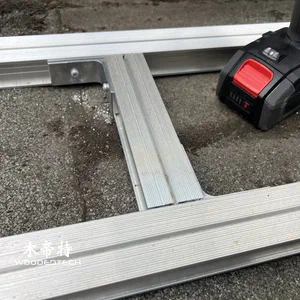 composite deck joist span table helps plan safe and efficient outdoor decking structures
 labor cost to install composite decking varies based on project size design and installation conditions
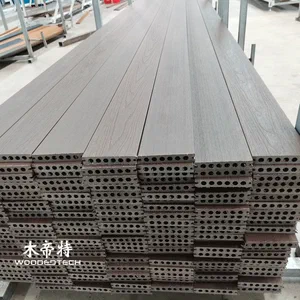 DIY Composite Decking Guide for Easy Outdoor Deck Installation
 core decking wpc provides a stable outdoor flooring solution with reliable composite performance
Related Products
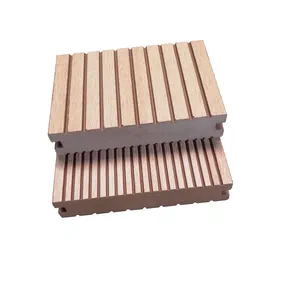 D13740S 40mm Thick Solid Composite Decking Material for Durable Outdoor Flooring Applications
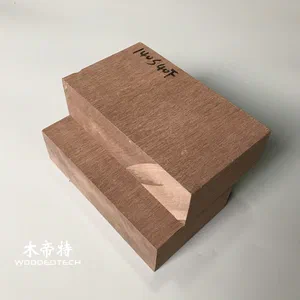 D14040-2S Square Solid Composite Deck Boards Without Side Grooves for Outdoor Decking
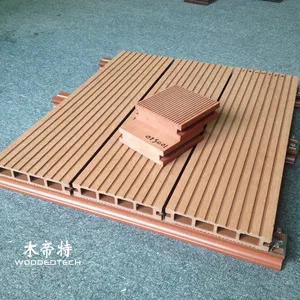 D10030S outdoor floor narrow board design offers an elegant appearance with solid structure and excellent load bearing performance