
Composite Deck DIY: A Practical Guide to Materials, Installation, and Performance
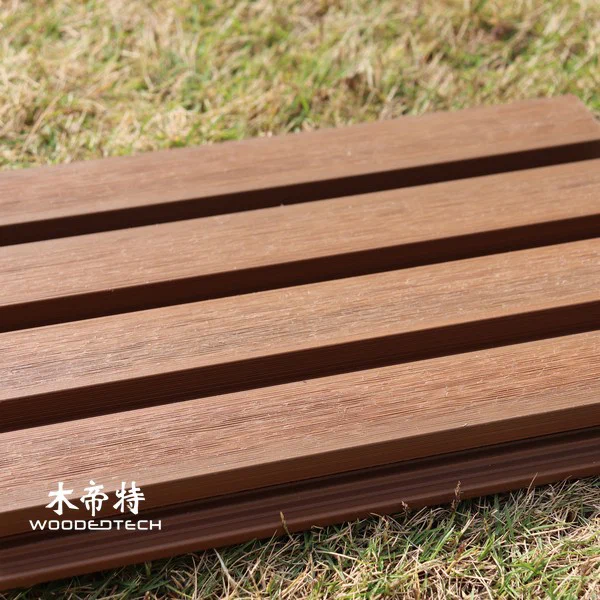
Composite decking is a practical outdoor flooring option for homeowners and contractors seeking a wood-like appearance with less routine maintenance. A successful DIY installation depends on selecting suitable composite decking boards, preparing a stable subframe, allowing for expansion, and following the manufacturer’s fixing and ventilation requirements.
Step 1: Choose the Right Materials and Tools
Wood plastic composite (WPC) decking combines wood fibres with polymers and additives to create boards designed for outdoor use. Options include hollow and solid profiles, grooved boards for concealed clips, and capped composite decking with an additional protective surface layer. Compare slip resistance, UV resistance, expected durability, colour, drainage requirements, and warranty conditions before purchasing.
Prepare the materials and tools needed for the project:
- WPC decking boards, compatible joists, and starter and finishing clips
- Stainless steel or manufacturer-approved screws and fixings
- Measuring tape, chalk line, spirit level, drill, and saw
- Spacers, safety glasses, gloves, and hearing protection
Calculate the deck area and board layout before ordering. Include the manufacturer’s recommended spacing, cutting allowance, and spare boards for future repairs.
Step 2: Prepare the Subframe and Ground
Start with a firm, level foundation that drains water away from buildings. For ground-level decks, remove vegetation and unstable soil, then install a suitable compacted base or approved support system. Elevated decks require a structurally sound frame designed for the expected loads and local building requirements.
Install joists at the spacing specified for the selected decking profile. Reduce the spacing where required for stairs, board ends, heavy-use areas, or diagonal layouts. Check that the frame is level, square, and properly supported. Provide adequate airflow beneath the boards, avoid water-trapping details, and use compatible protective materials where necessary.
Step 3: Cut and Fix the Decking Boards
Allow the boards to acclimatise according to the manufacturer’s instructions. Measure carefully and cut with a suitable saw and blade, keeping cuts clean and square. Wear appropriate protective equipment and control dust during cutting.
For grooved boards, install the specified starter clips at the perimeter, position the first board accurately, and secure subsequent boards with compatible concealed clips. For face-fixed systems, use approved screws and follow the required pilot-hole and edge-distance guidance. Fixings must suit the board profile and subframe material.
Maintain the specified end-to-end, side-to-side, and perimeter expansion gaps. Composite boards expand and contract with temperature changes, so the required clearance depends on the product, board length, installation temperature, and fixing system. Never assume all WPC products use identical spacing. Stagger board joints where the design permits, support every board end as specified, and trim exposed edges for a neat finish.
Step 4: Install Wall Cladding and Finish the Deck
For outdoor WPC wall cladding, inspect the wall for moisture problems and install a suitable subframe with adequate ventilation and drainage. Fix battens at the manufacturer’s specified centres, secure the first panel with the approved starting system, and fit subsequent panels using compatible clips or screws. Follow the product instructions for corner details, openings, top and bottom clearances, and movement joints.

Once installation is complete, check every fixing, board alignment, edge, and transition. Keep drainage outlets clear and ensure the deck does not obstruct doorways or compromise building waterproofing. Use appropriate edge trims, fascia boards, and stair components where required.
Maintenance Tips for Long-Term Performance
Clean composite decking with water, a soft brush, and a manufacturer-approved cleaner. Remove leaves, dirt, and standing water regularly, and address mould or algae with a suitable product. Avoid aggressive pressure washing, abrasive tools, and harsh chemicals unless expressly permitted by the manufacturer.
Inspect the subframe, clips, screws, drainage paths, and wall cladding periodically. Promptly address loose fixings, damaged boards, or blocked ventilation. Although composite materials generally require less maintenance than timber, they are not maintenance-free; appropriate installation and routine care help preserve their appearance and service life.
FAQ
Q: Can composite decking be installed directly on soil?
A: No. Use a suitable, stable support system with adequate drainage and ventilation rather than laying standard decking boards directly on soil.
Q: How much expansion gap should composite decking have?
A: Follow the manufacturer’s installation chart for the specific product, board length, and installation temperature. Required clearances vary between systems.
Q: Can the same installation method be used for WPC decking and wall cladding?
A: No. Both require secure subframes and allowance for movement, but their fixing systems, ventilation arrangements, and structural requirements differ.
Related Articles
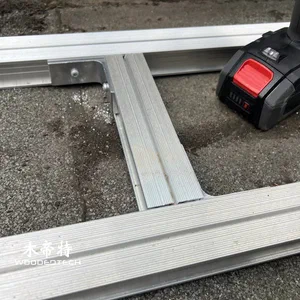 composite deck joist span table helps plan safe and efficient outdoor decking structures
 Composite Deck Screw Tool: Industrial Solutions for Contractors
 Composite Deck Over Concrete Porch Creates a Comfortable Outdoor Surface Upgrade Solution
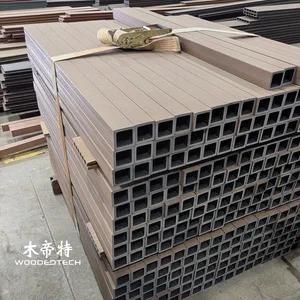 Composite decking instructions help installers complete outdoor flooring projects correctly
Related Products
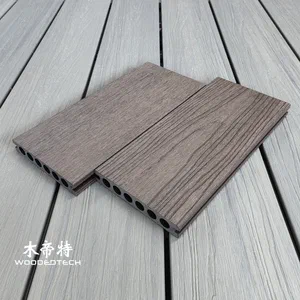 3DGD13823 Second Generation 3D Embossed Rosewood Composite Balcony Decking Delivers Ultra Realistic Wood Grain Texture and a Premium Natural Wood Experience
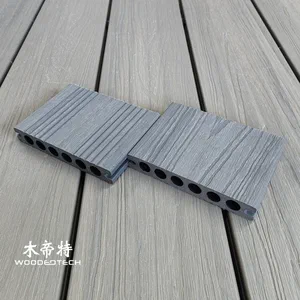 GD13823-3 Light Grey Premium Co Extrusion WPC Composite Decking Offers LG Texture and Excellent UV Resistance for Outdoor Spaces
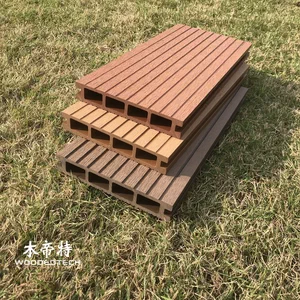 D14025-3 Square Hole Double Sided Grooved WPC Board Factory Producing Outdoor Decking Boards With Good Slip Resistance