
Can You Put Composite Railing on Wood Deck? A Guide for Industry Professionals in 2023
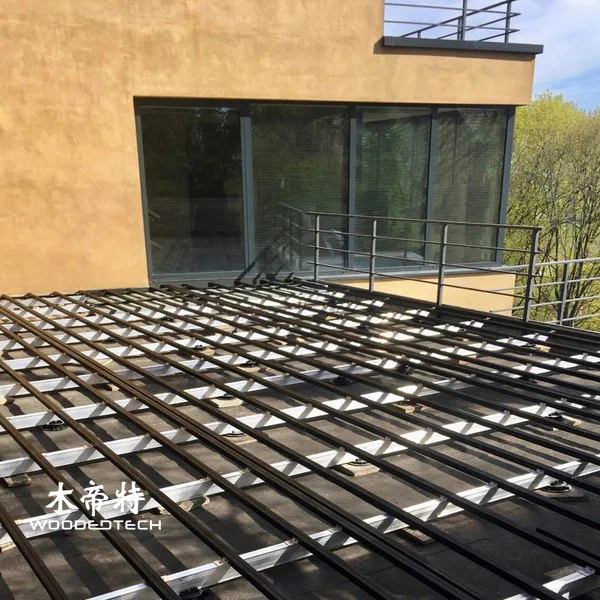
Installing composite railing on a wood deck can enhance both the aesthetic appeal and safety of your outdoor space. This guide will provide step-by-step instructions for industry professionals looking to achieve a seamless installation of composite railings on wood decking.
Preparing the Subframe
Before you begin the installation, ensure that the existing wood deck is structurally sound. Check for any loose boards or rot, and replace or repair as needed. The subframe should be level and free from debris.

- Inspect the deck joists for stability.
- Ensure the surface is clean and dry.
If the deck is not level, consider using shims to create a flat surface for the railing installation. It is also advisable to measure the height of the railing from the ground to ensure compliance with local building codes.
Fixing Methods
Composite railings can be attached to wood decks using several fixing methods. The most common methods include:
- Screw Fixing: Use corrosion-resistant screws to attach the railing posts directly to the deck. Pre-drill holes to prevent splitting the wood.
- Bracket Fixing: Metal brackets can be used to attach the railing posts securely to the deck. This method allows for easier adjustments and stronger connections.
- Through-Bolting: For added strength, especially in high-wind areas, consider through-bolting the posts.
Follow the manufacturer’s instructions closely for specific fixing methods and ensure that all fasteners are tightened securely.
Installing the Railing
Once the subframe is prepared and the fixing method is chosen, you can begin installing the railing.
- Position the Posts: Mark the locations of the posts according to the spacing guidelines in the manufacturer’s specifications. Typically, posts should be spaced no more than six feet apart.
- Attach the Posts: Secure the posts using your chosen fixing method, ensuring they are plumb and level.
- Install the Top and Bottom Rails: Attach the top and bottom rails to the posts, ensuring they are level and secure.
- Insert Balusters: Place balusters between the top and bottom rails, maintaining uniform spacing as per local codes. Use a spacer to ensure consistent gaps.
- Finish with Caps: Finally, install the railing caps to complete the look and add protection from the elements.
Expansion Gaps
Composite materials expand and contract with temperature changes, making it crucial to allow for expansion gaps.
- Leave a minimum gap of 1/4 inch between the ends of the composite boards and adjacent structures.
- Ensure at least 1/8 inch spacing between balusters and rails for proper airflow.
These gaps will help prevent warping and maintain the integrity of the installation over time.
Cutting Composite Material
When cutting composite materials for your railing, use the appropriate tools to achieve a clean cut:
- Circular Saw: Best for making straight cuts. Use a fine-toothed blade designed for composite materials.
- Miter Saw: Ideal for angled cuts, especially at corners or when creating decorative patterns.
Always wear safety goggles and a dust mask to protect yourself while cutting. Measure twice and cut once to ensure accuracy.
Maintenance Tips
To keep your composite railing looking its best, regular maintenance is essential.
- Cleaning: Use a mild soap and water solution to clean the railing. Avoid harsh chemicals that may damage the surface.
- Inspecting: Regularly check for loose screws or brackets and tighten them as needed to maintain safety.
- Protecting: Consider applying a UV protectant to reduce fading from sun exposure.
By following these steps, you can successfully install composite railings on wood decks, providing a durable and visually appealing addition to your outdoor space.
Related Articles
 Enhancing Outdoor Spaces: The Importance of Composite Deck Railing Balusters in 2023
 Innovative Composite Deck Handrail Solutions for Enhanced Safety and Aesthetics in 2023
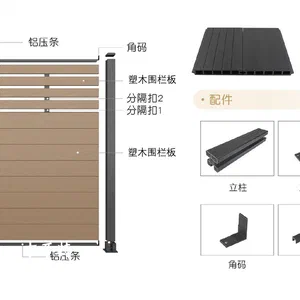 Composite Deck Railing Ideas: Design Trends and Material Solutions for 2026
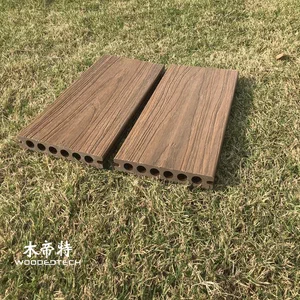 Composite Railing Designs: Industrial Applications, Performance, and Material Selection
Related Products
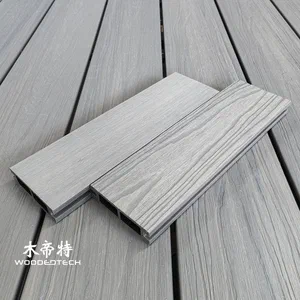 3DGL9024 Composite Railing Kits Feature Premium Co Extruded 3D Embossed Antique Wood Grain Texture with Realistic Natural Wood Fibers
 10' composite deck railing allows customized styles and dimensions for various landscape and building projects
 Composite deck railing adds attractive colors and aesthetic value to municipal landscape applications