
Best Practices for Wood Plastic Composite Installation: A Guide for Industry Professionals
Installing Wood Plastic Composite (WPC) decking and wall cladding systems requires careful preparation and attention to detail to ensure a durable and visually appealing finish. This guide outlines the best practices for industry professionals, covering everything from subframe preparation to maintenance tips.
Subframe Preparation
A solid and properly aligned subframe is crucial for a successful WPC installation. Follow these steps for the subframe preparation:
- Site Assessment: Evaluate the installation area for any obstacles and ensure it is level and free of debris.
- Material Selection: Choose pressure-treated wood or galvanized steel for the subframe, as these materials resist moisture and decay.
- Layout: Mark the layout using string lines or chalk lines. Ensure that the joists are spaced appropriately, generally 16 inches apart for decking and 12 inches for wall cladding.
- Elevation: Ensure that the joists are elevated to allow for water drainage. This is particularly important for decking installations to prevent pooling.
- Anchoring: Secure the joists to the ground using appropriate fasteners, ensuring they are straight and level.
Fixing Methods
Proper fastening techniques are vital for the longevity of WPC products. Here’s how to effectively secure the boards:
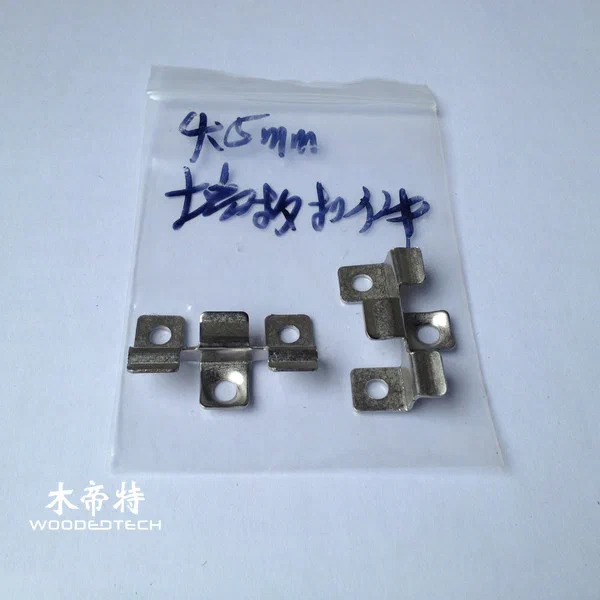
- Screws vs. Clips: Use stainless steel screws or hidden fastener clips designed for WPC. Clips provide a seamless look, while screws offer visible anchoring.
- Drilling: Pre-drill holes to prevent splitting, especially near the ends of the boards. Ensure the drill bit is slightly larger than the screw to allow for expansion.
- Fastening: Fasten the boards to the subframe at every joist. For clips, install them according to the manufacturer’s instructions, ensuring they are flush with the board edges.
Expansion Gaps

WPC materials expand and contract with temperature changes. To accommodate for this:
- End Gaps: Maintain a minimum gap of 1/4 inch at the ends of the boards and walls to allow for expansion.
- Side Gaps: Leave a 1/8 inch gap between the edges of adjacent boards.
- Temperature Consideration: Install WPC during moderate temperatures to minimize expansion during installation.
Cutting Techniques
Cutting WPC requires precision to ensure clean edges:
- Tools: Use a high-quality circular saw with a fine-tooth blade to reduce chipping. A miter saw can be used for angled cuts.
- Measuring: Measure twice before cutting to avoid mistakes. Always cut from the backside to minimize visible splintering.
- Finishing Cuts: Sand any rough edges after cutting to prevent splinters and ensure a smooth finish.
Maintenance Tips
Maintaining WPC decking and wall cladding will prolong its lifespan and appearance:
- Cleaning: Use a mild soap and water solution for regular cleaning. Avoid harsh chemicals that can damage the surface.
- Stains: Address spills immediately to prevent staining. For stubborn stains, a soft-bristle brush can help.
- Inspection: Periodically check for loose boards, fasteners, or signs of wear. Tighten any loose screws and replace damaged boards promptly.
By following these best practices, professionals can ensure a successful installation of WPC decking and wall cladding systems that are aesthetically pleasing and durable.
Related Articles
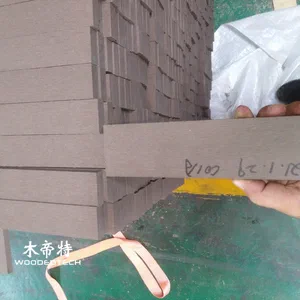 Essential Guide: How to Care for Composite Deck for Longevity and Performance
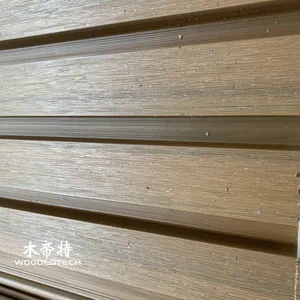 Essential Guide to Composite Deck Board Installation: Best Practices for 2023
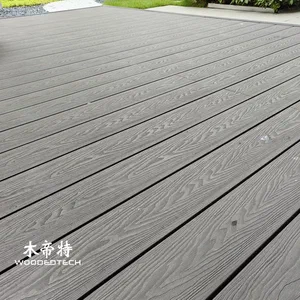 WPC Deck Installation for Creating Durable Outdoor Decking Areas in Gardens Patios and Commercial Spaces
 How To Install Wood Plastic Composite Decking With Professional Techniques
Related Products
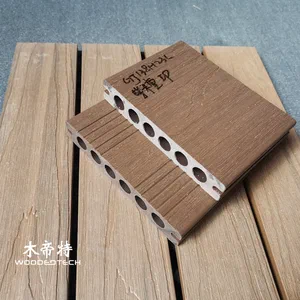 GD13823-3 Composite Boards for Decking Are Available in Multiple Stock Colors with 3 Meter Lengths and Single Piece Delivery
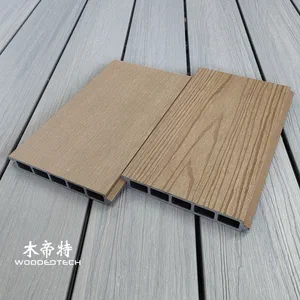 3DGL18024 WPC Longboard Fence Features Premium Co Extruded 3D Embossed Teak Wood Grain Texture with Realistic Natural Wood Fibers
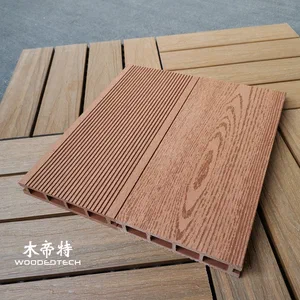 The Classic D14025-4 Red Wood WPC Wood Sheet Features a Timeless 2D Flat Wood Grain Design That Remains Popular After Twenty Years